1987 4000 quattro, wintervagen


This is my fourth 4000 quattro to date, and probably the best one yet in terms of condition. 

Everything in this one works perfectly.  Heated seats, cruise control, even the stock electric antenna.  About the only thing that does not work in the A/C.  Being a winter car, that will not bother me one bit.  At first I thought that this car is way too good to drive in the winter time.  A quick look under the rear bumper showed me why I shouldn’t worry.  The usual signs of corrosion hidden by the rear bumper.  This a usual spot for these cars to develop rust. 

The car was a bit neglected by the previous owner, ashes from smoking everywhere, dirty and the dash looked like it has never seen Armour All.  However couple of hours with a vacuum and a quick carpet shampoo brought the interior back to it’s original state.  These cars are amazing when it comes to quality of materials used in the interior.  Even with high milage they can look brand new.


DSC00219.JPG
How I found her

DSC04318.JPG
Back to clean life :)

DSC04320.JPG
Yes, that’s a Prototipo

DSC04322.JPG
Joyyy

DSC04327.JPG
Non stock rad hose.. Grrr


So…  what should I do first?  5 bolt?  Sure… this is not the first time for me so I knew exactly what to do.  I have already made my components when out of the blue a 1982 Audi Ur-quattro came up on ebay.  This car was hit hard on the pass front, however suspension and even most of the engine was still good.  Needless to say a light bulb came on.  I really like the early style suspension with rear sway bar and proper ball joints in the back..  So.. this new 4kq would have a full Ur-q suspension.

First came the rear suspension.  That was very simple.  I actually transferred the entire assembly including the Ur-q rear diff.   This way I would have a chance to get away from the useless 4:11 gearing.  Fine for the stock engine but for anything with power just to short.  First gear is usually useless in MC turbo cars.

Front end was also pretty straight forward.  Not as difficult as my previous conversion that used moded 5kt struts.

The only work needed was the transfer of steel brake lines to exit on the front side of the strut.  I actually used the donor Ur-q brackets and lines.  Hehehe.. lets just say that with the extra offset in the rear the max tire you can have on the Fuchs is 195 width.  Otherwise it will rub, but just.  

Next is G60s and rear vented brakes… I’ll just wait for summer to do that.


DSC04671.JPG
Drear end, nice!!

DSC04674.JPG
195s are widest on Fuchs

DSC05258.JPG
Ahh.. both finished

DSC05389.JPG
Looking good

DSC05392.JPG
Love the offset!!

DSC05394.JPG
Already looking for a larger sway bar


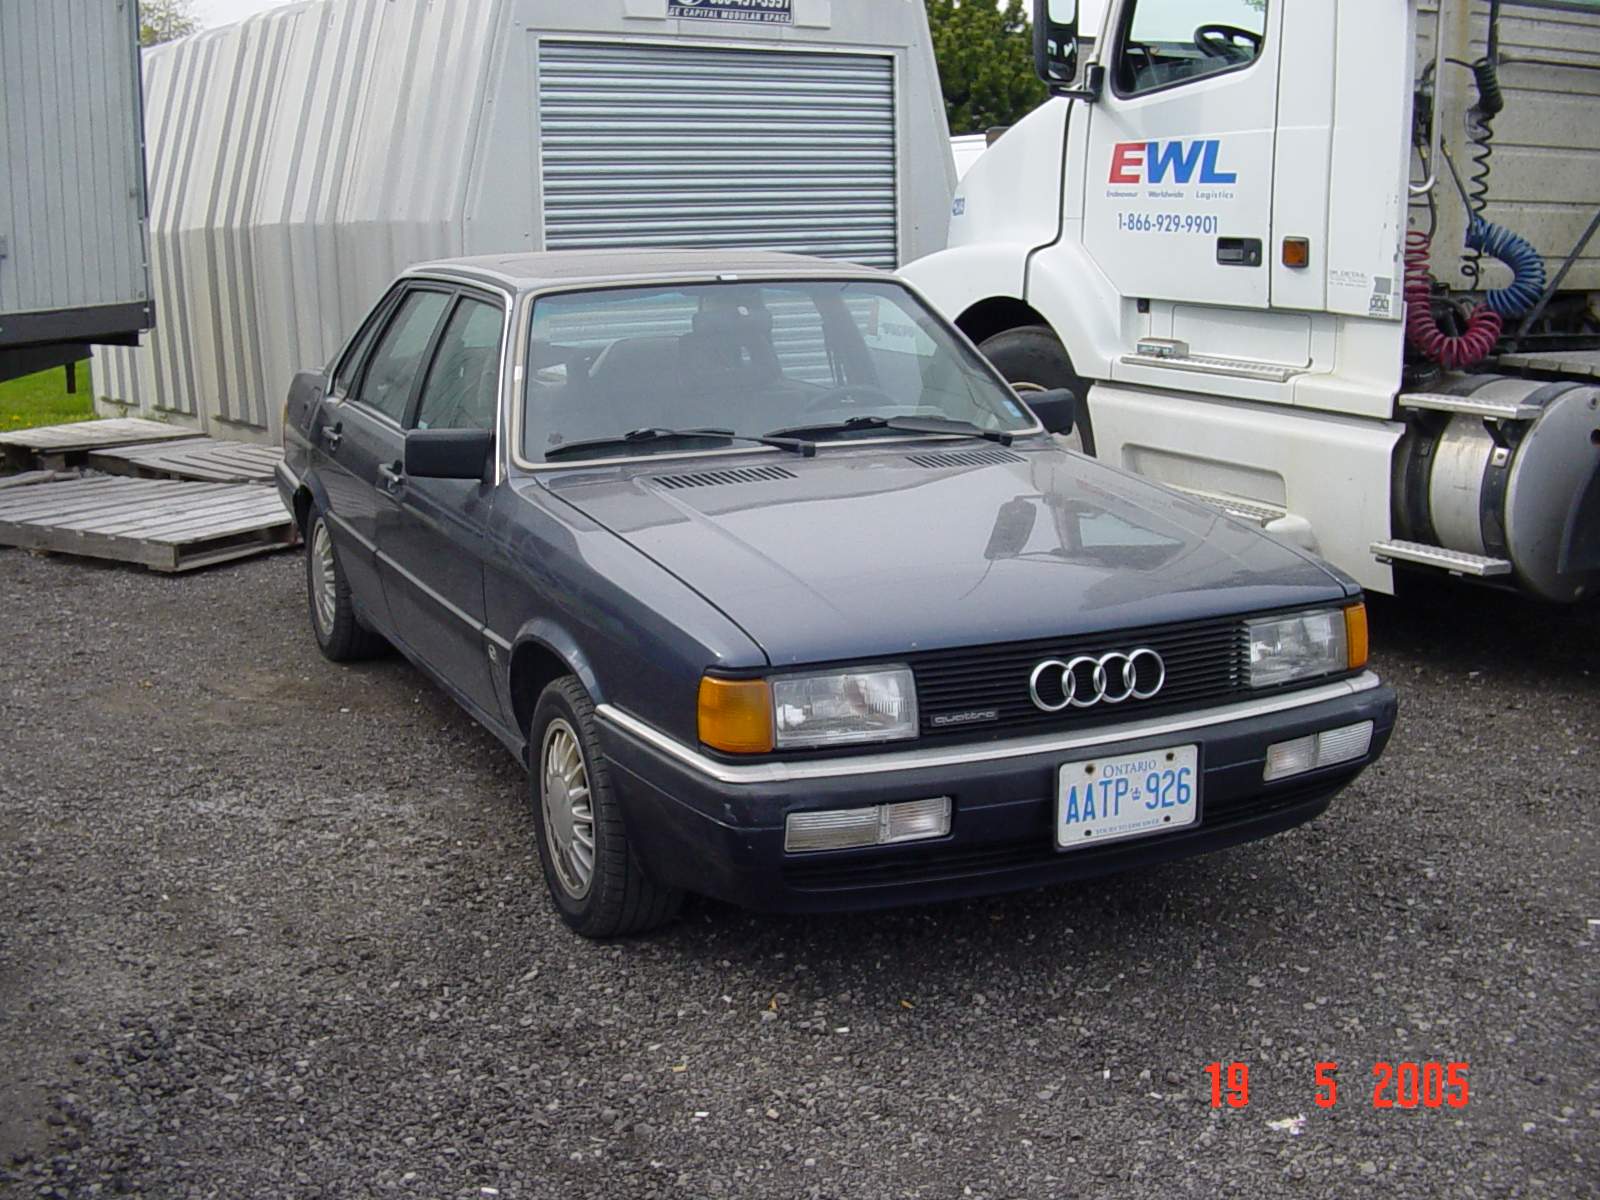
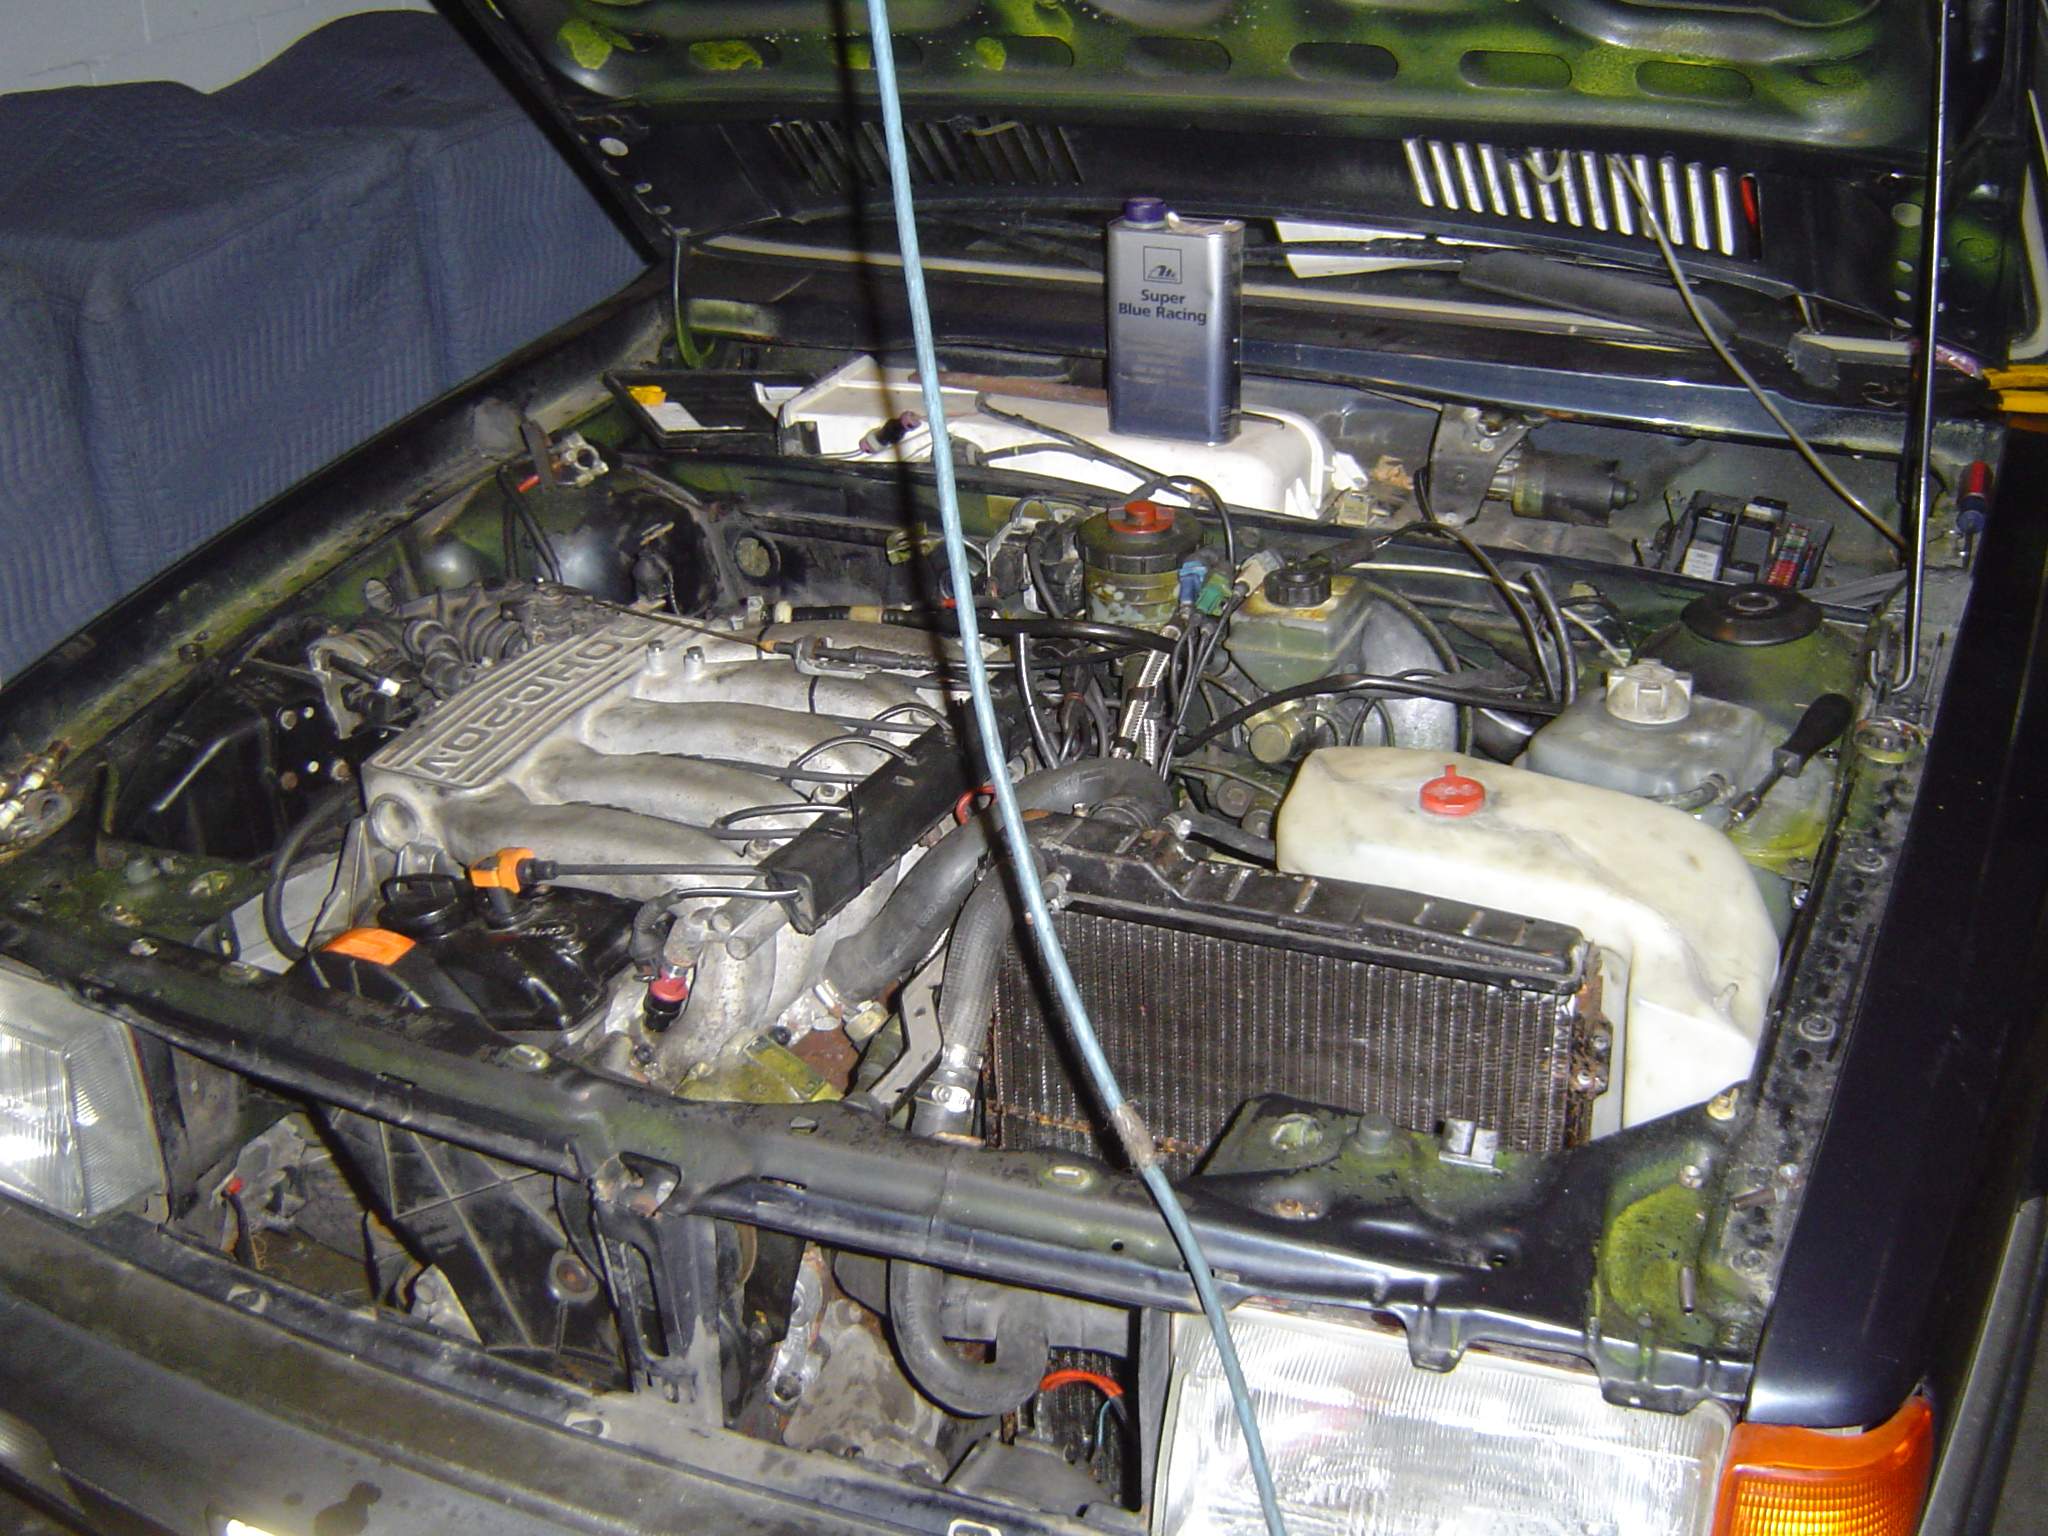
Now for extra power.  One of our club members has upgraded his Coupe Quattro to ANN engine.  
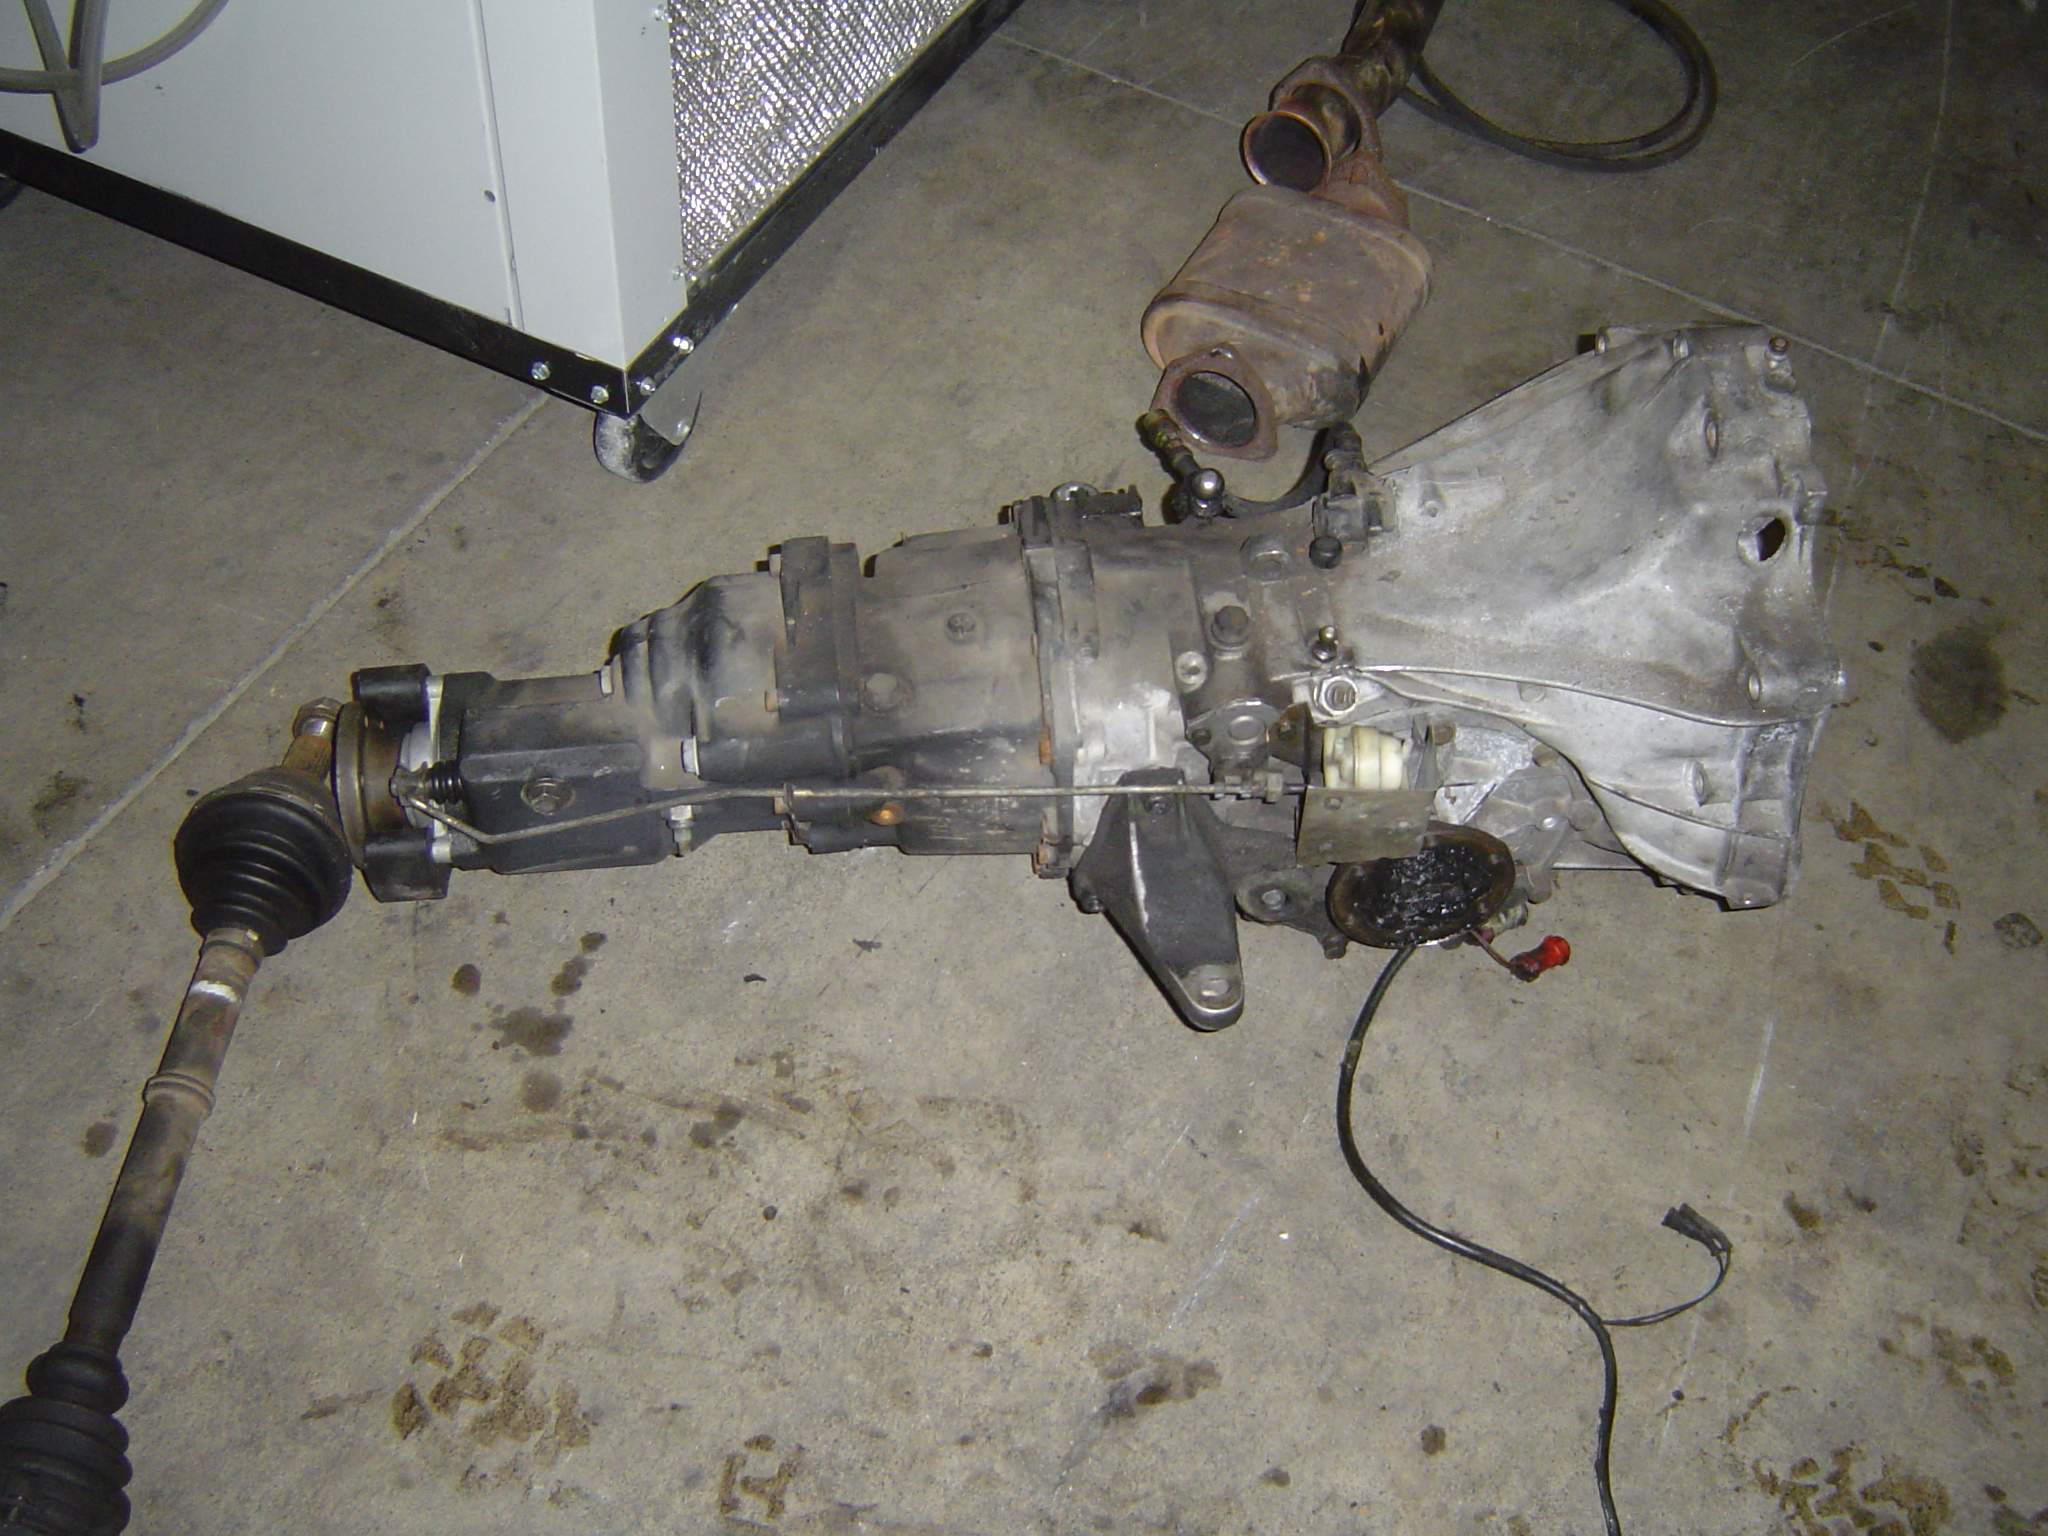
Left over was a nice low mile 7A.  Hmm.. That would be nice for a winter car. Not only that I needed to swap the tranny anyway to match the 3.89 gearing I installed in the back end.  What’s the point of a winter car you can’t lock diffs in.. L


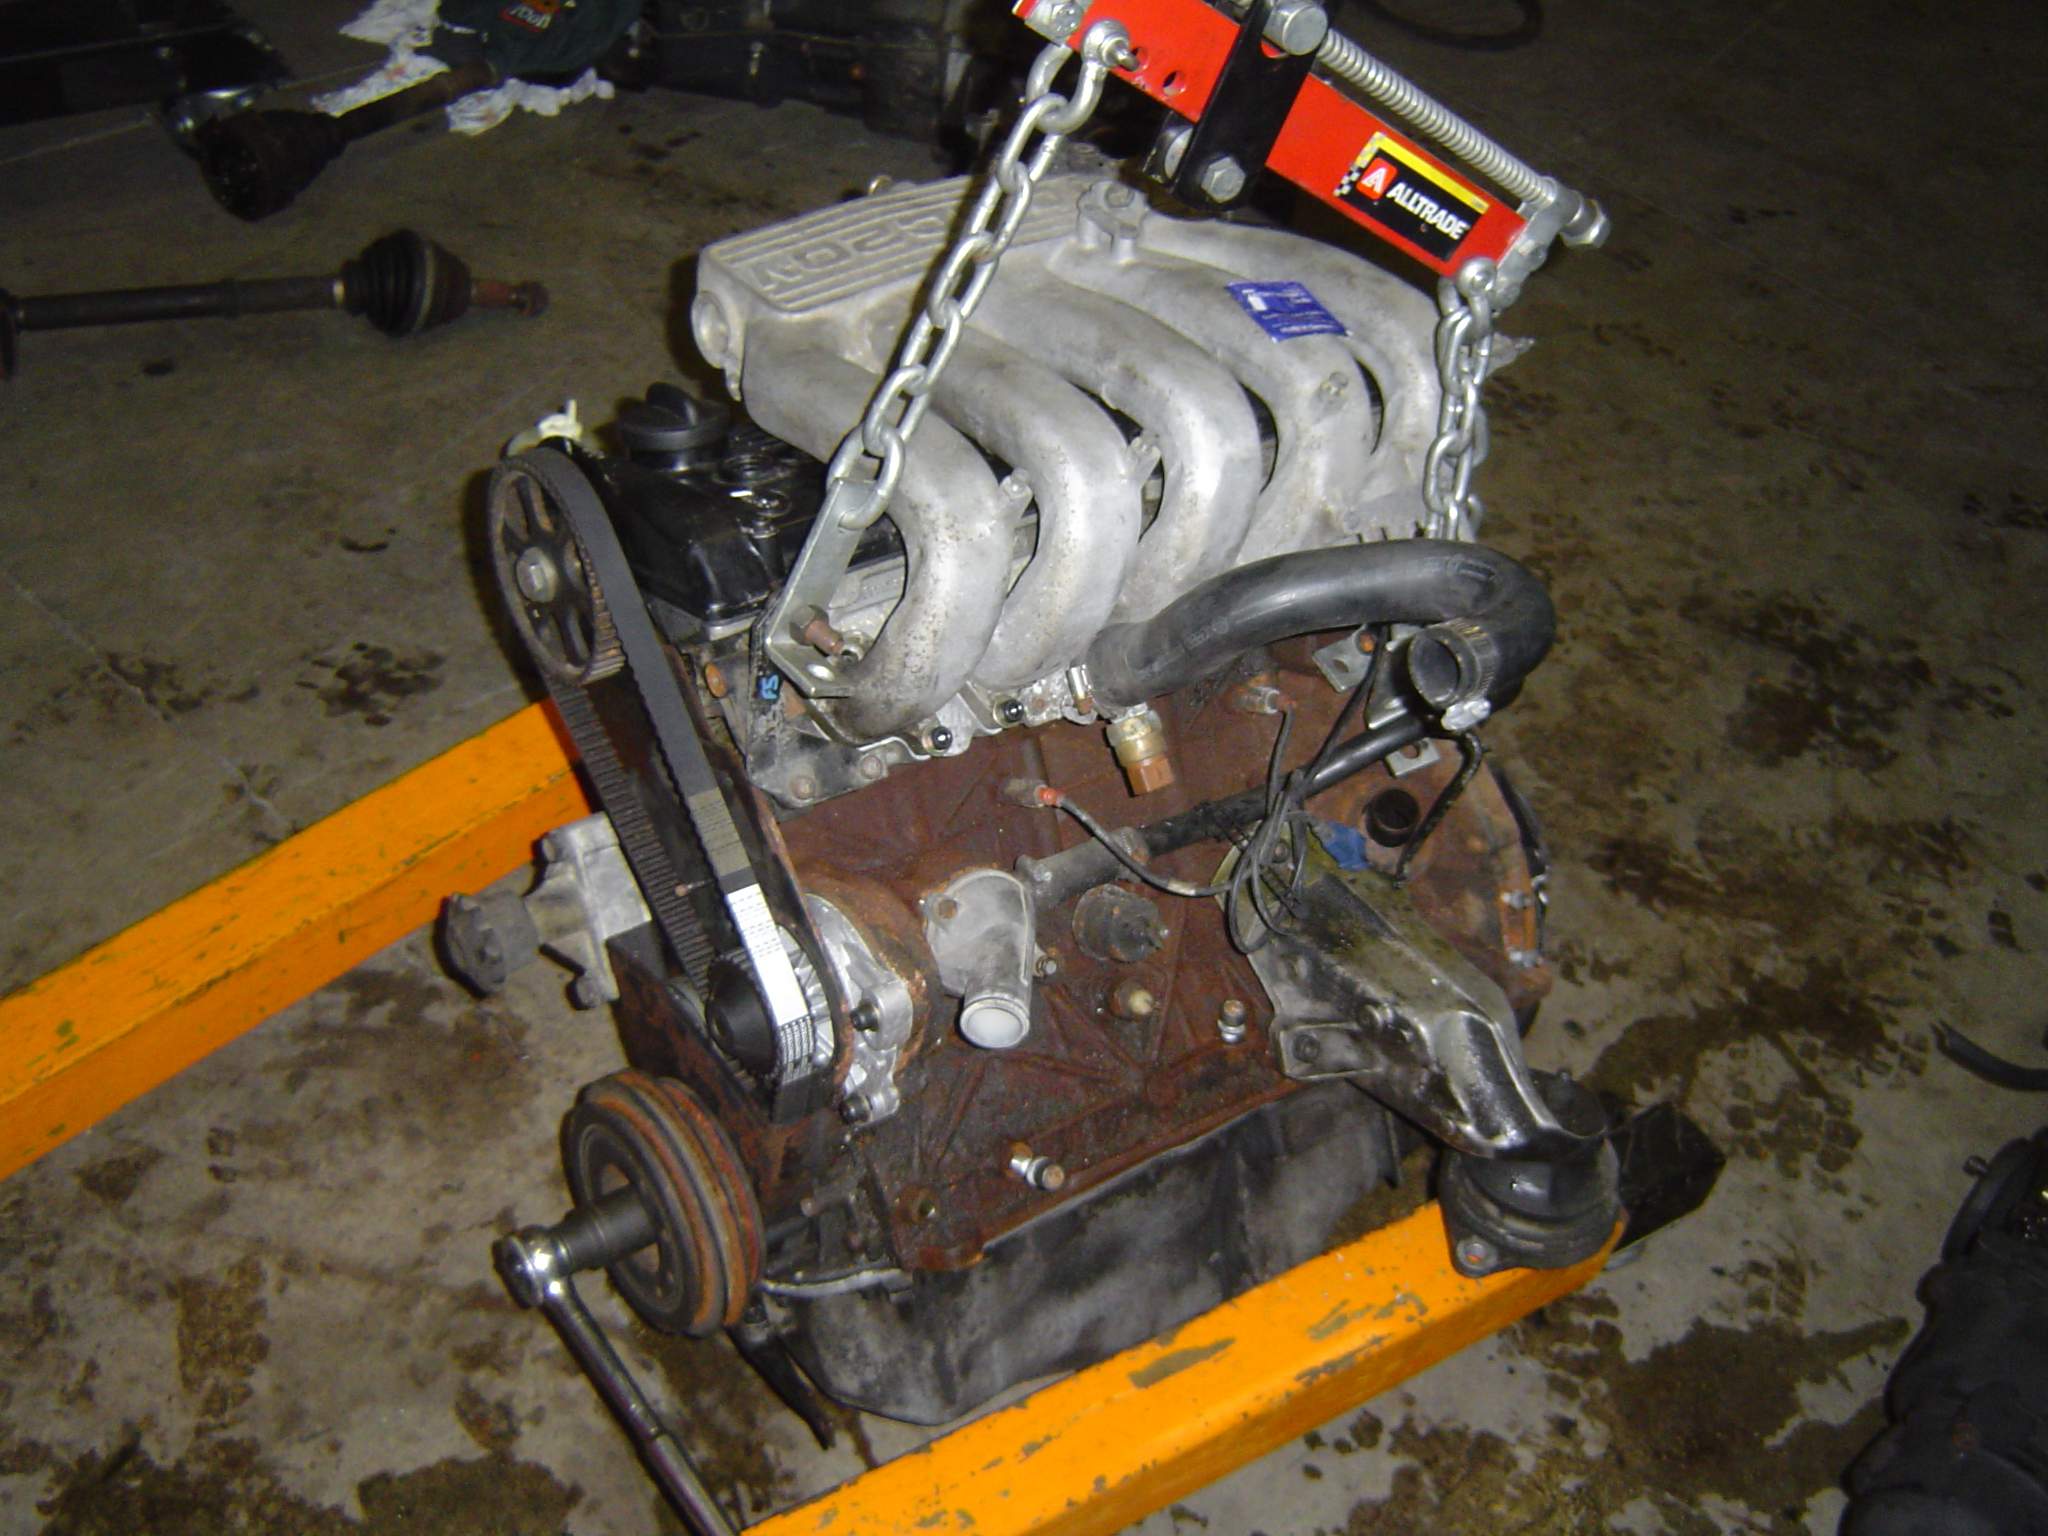
So.. to match the 7A to 016 gearbox a 3B flywheel and clutch are needed, along with a pilot bearing (7A has it in the 
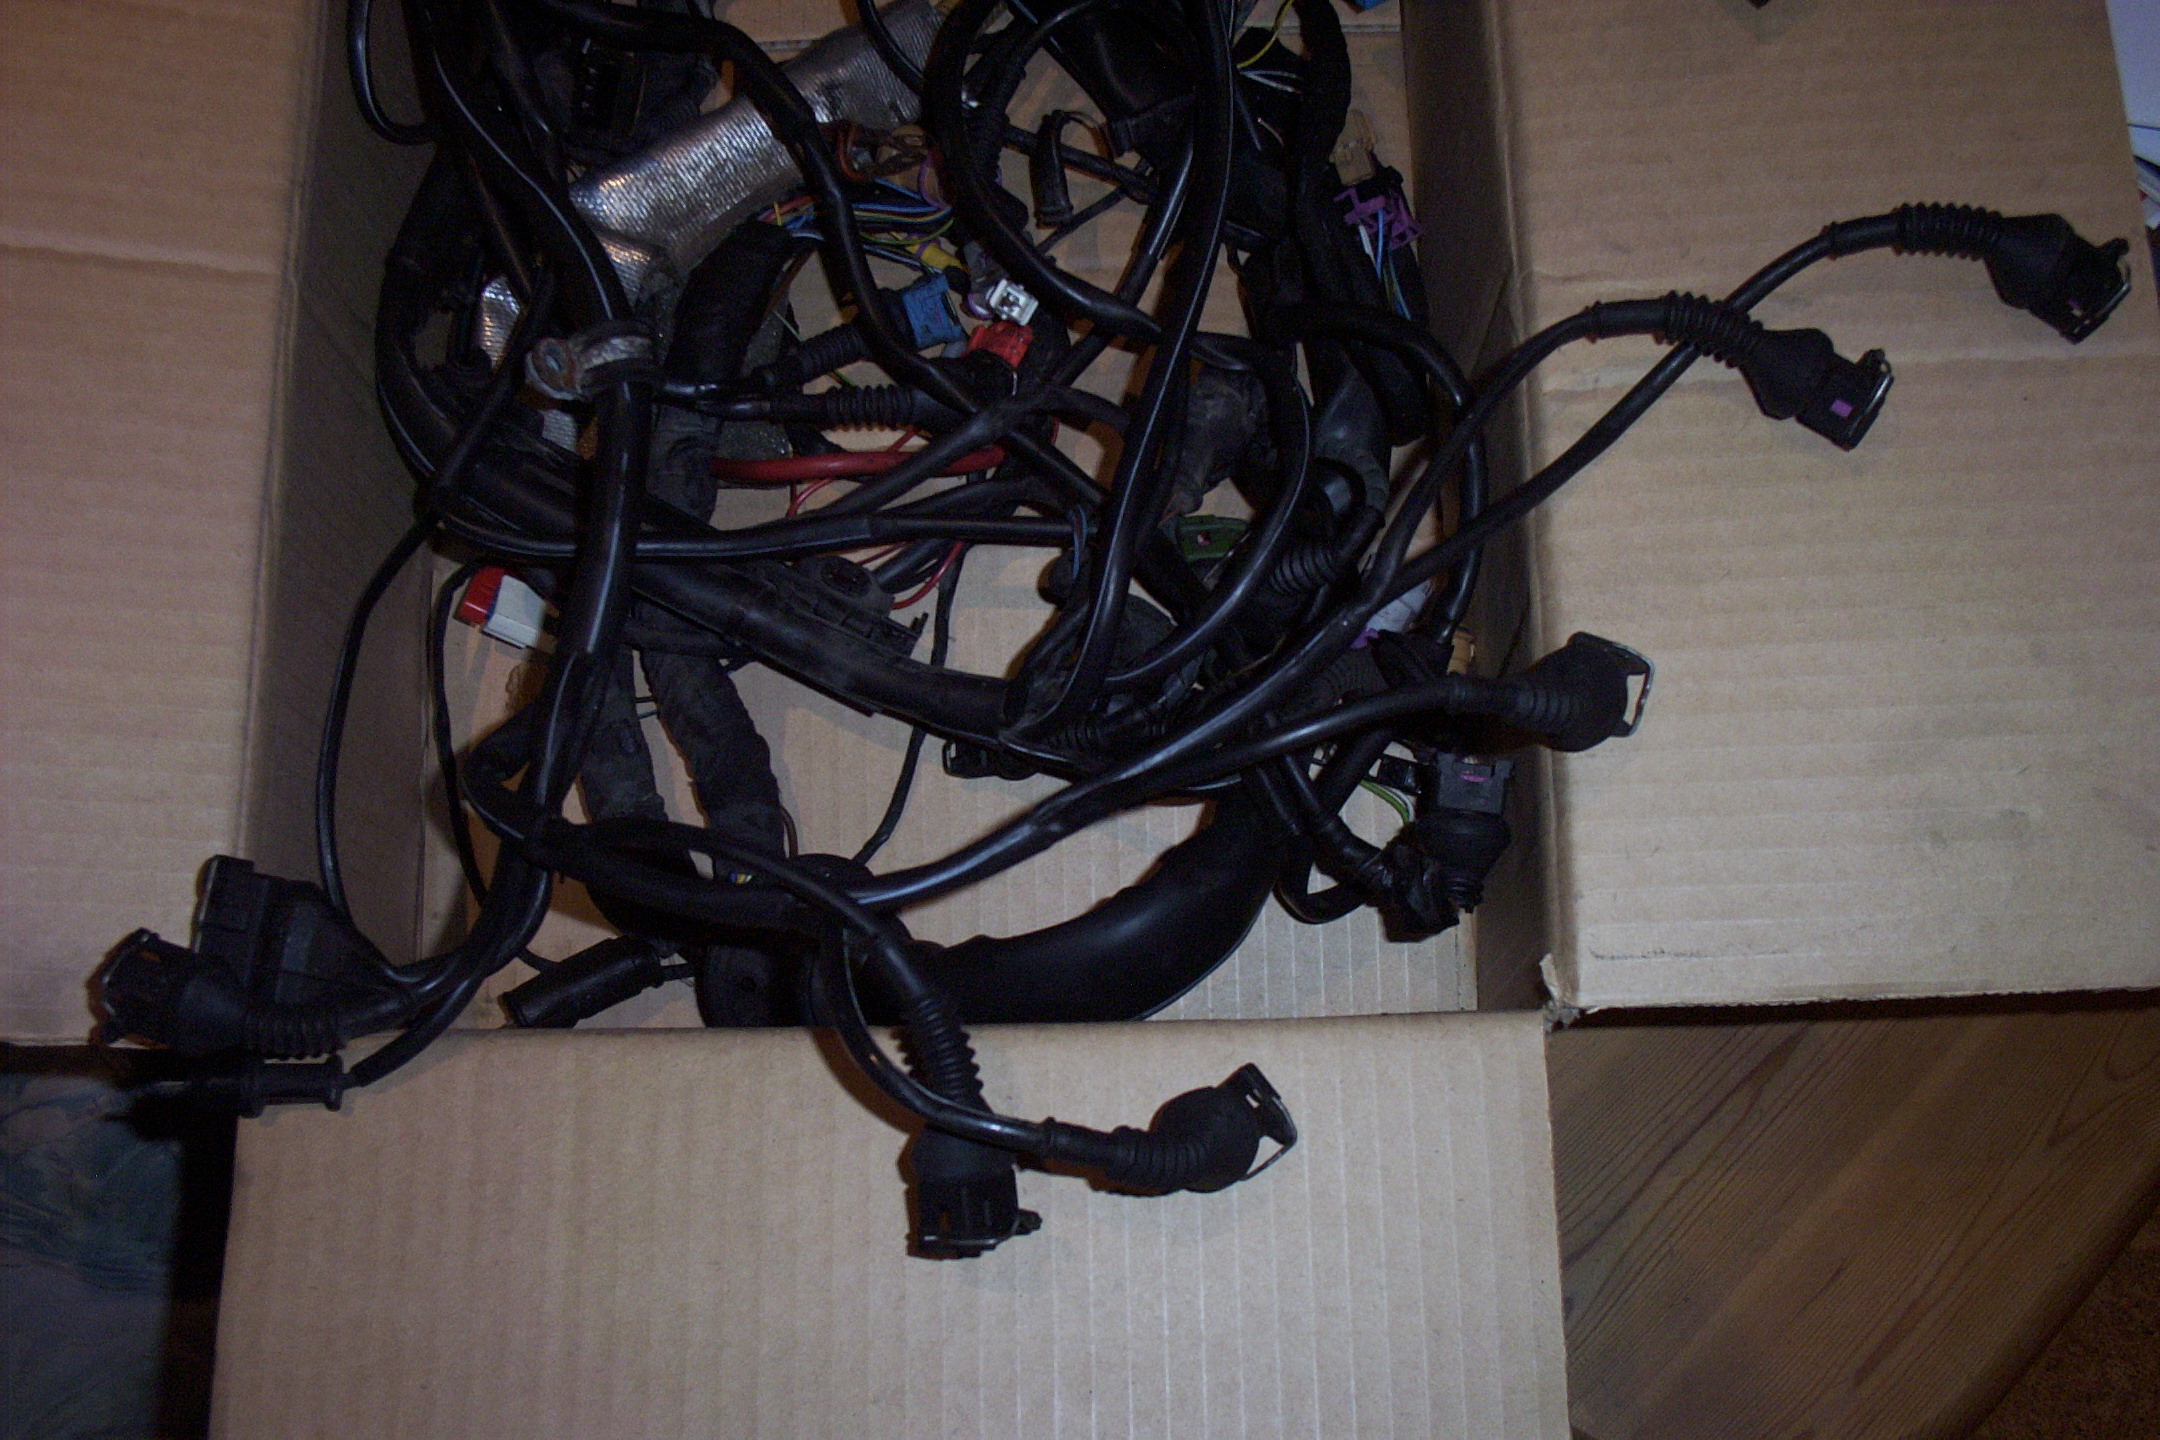
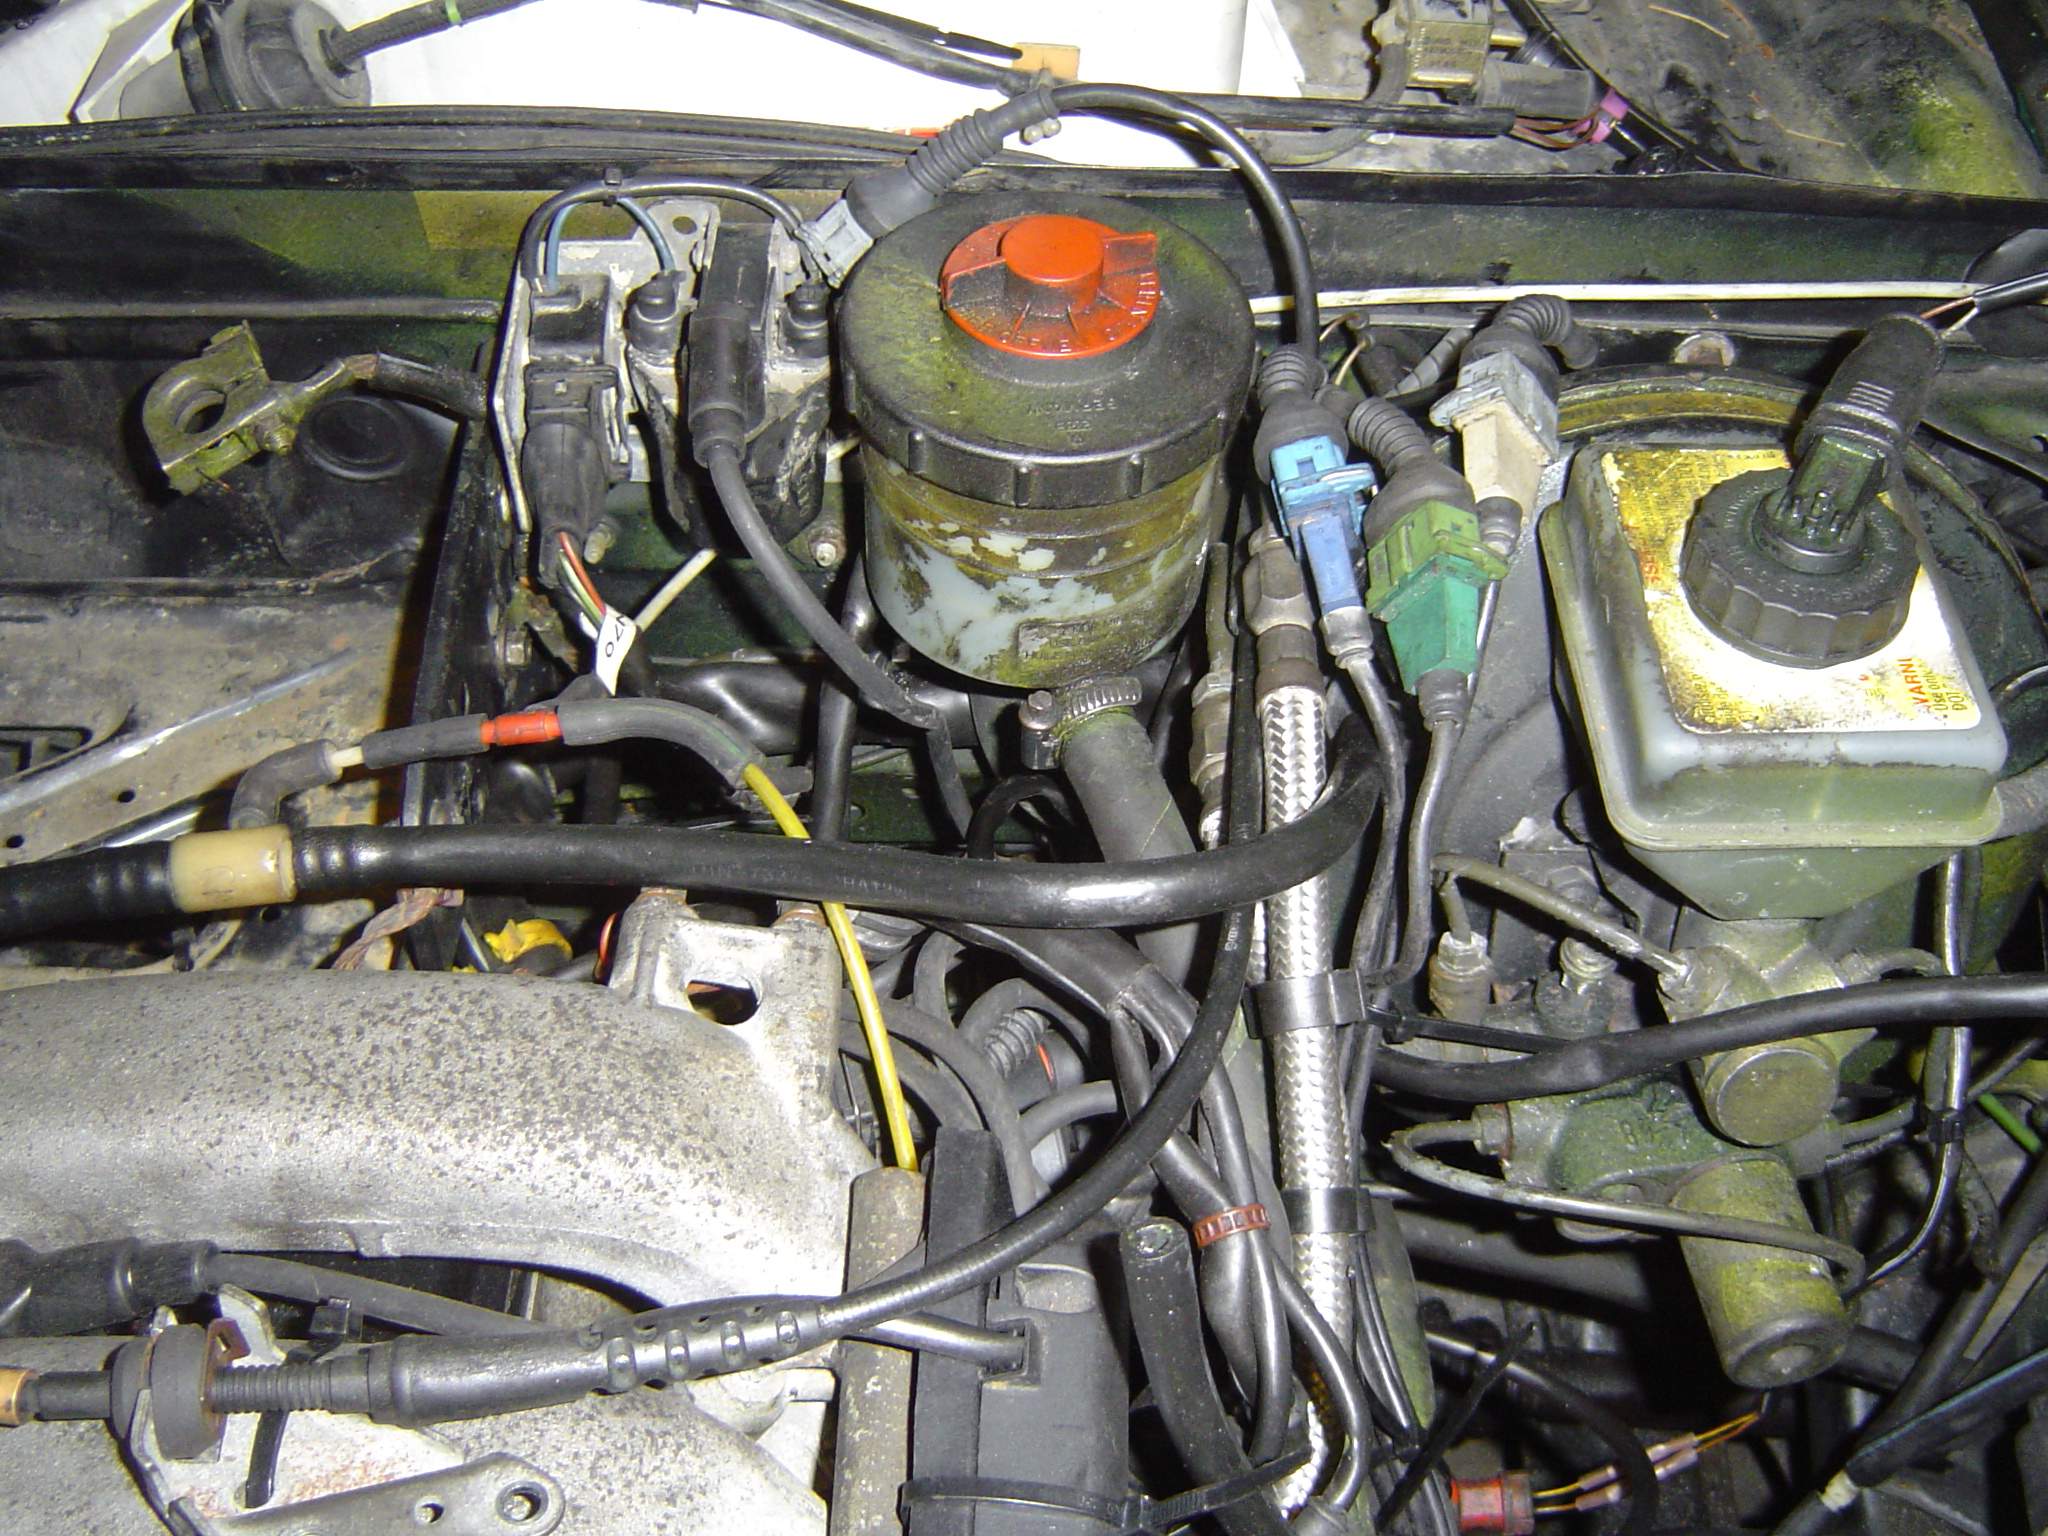
flywheel).  Complete harness will make this a factory stock plug in.  It’s almost amazing how easy the electrics are to hook up.  
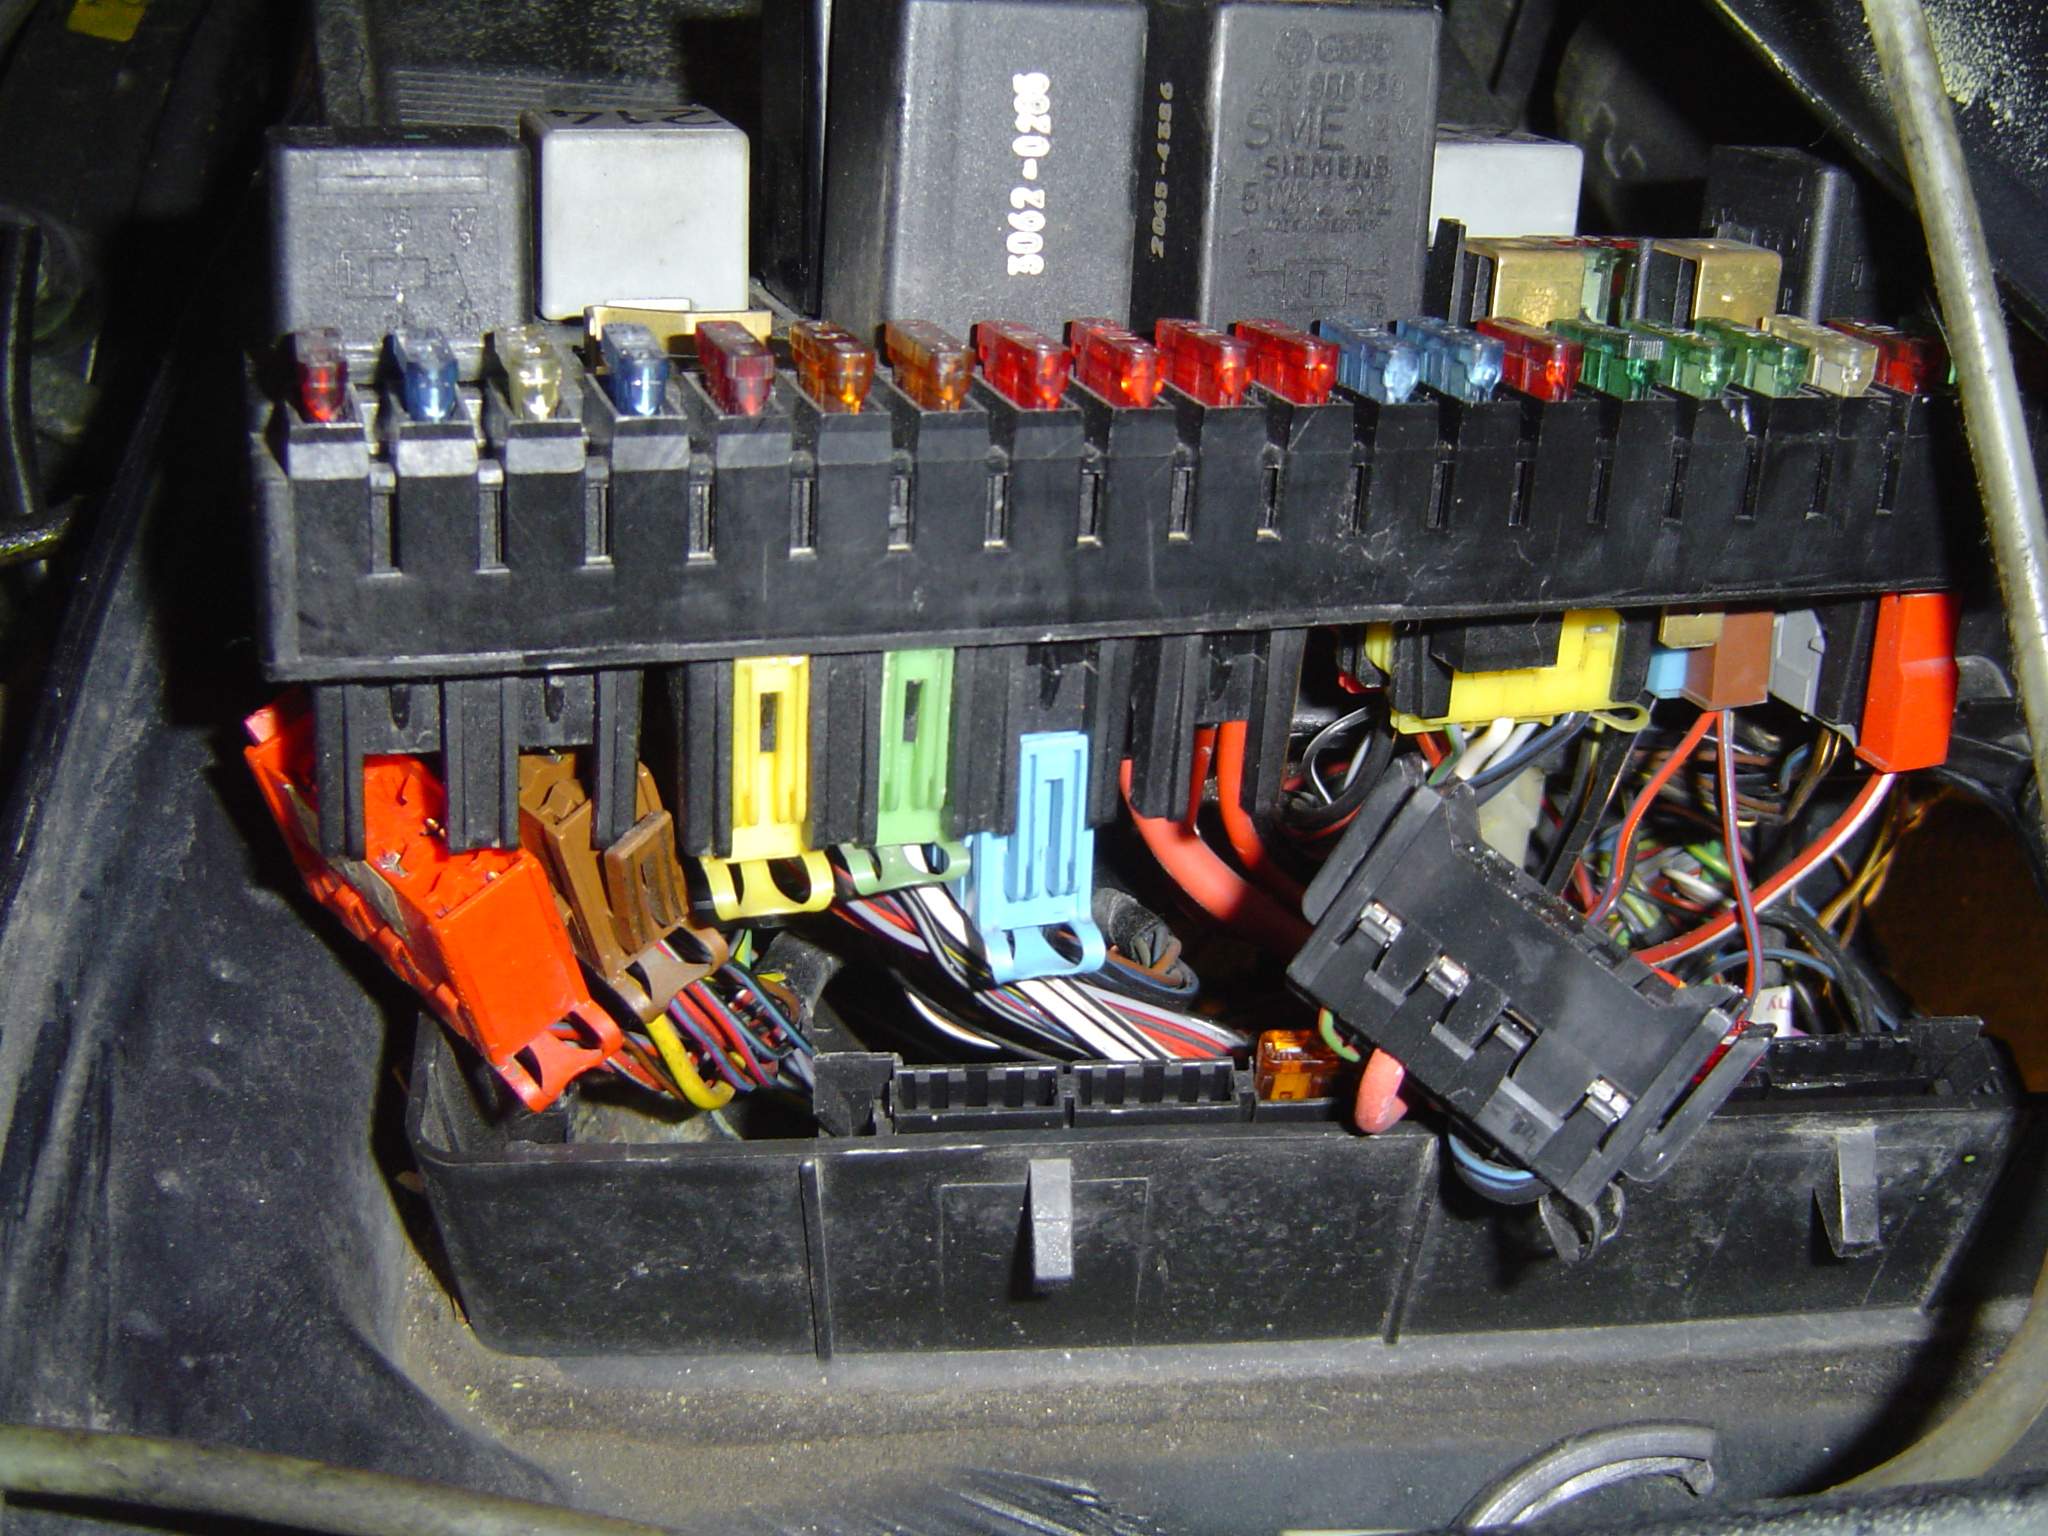
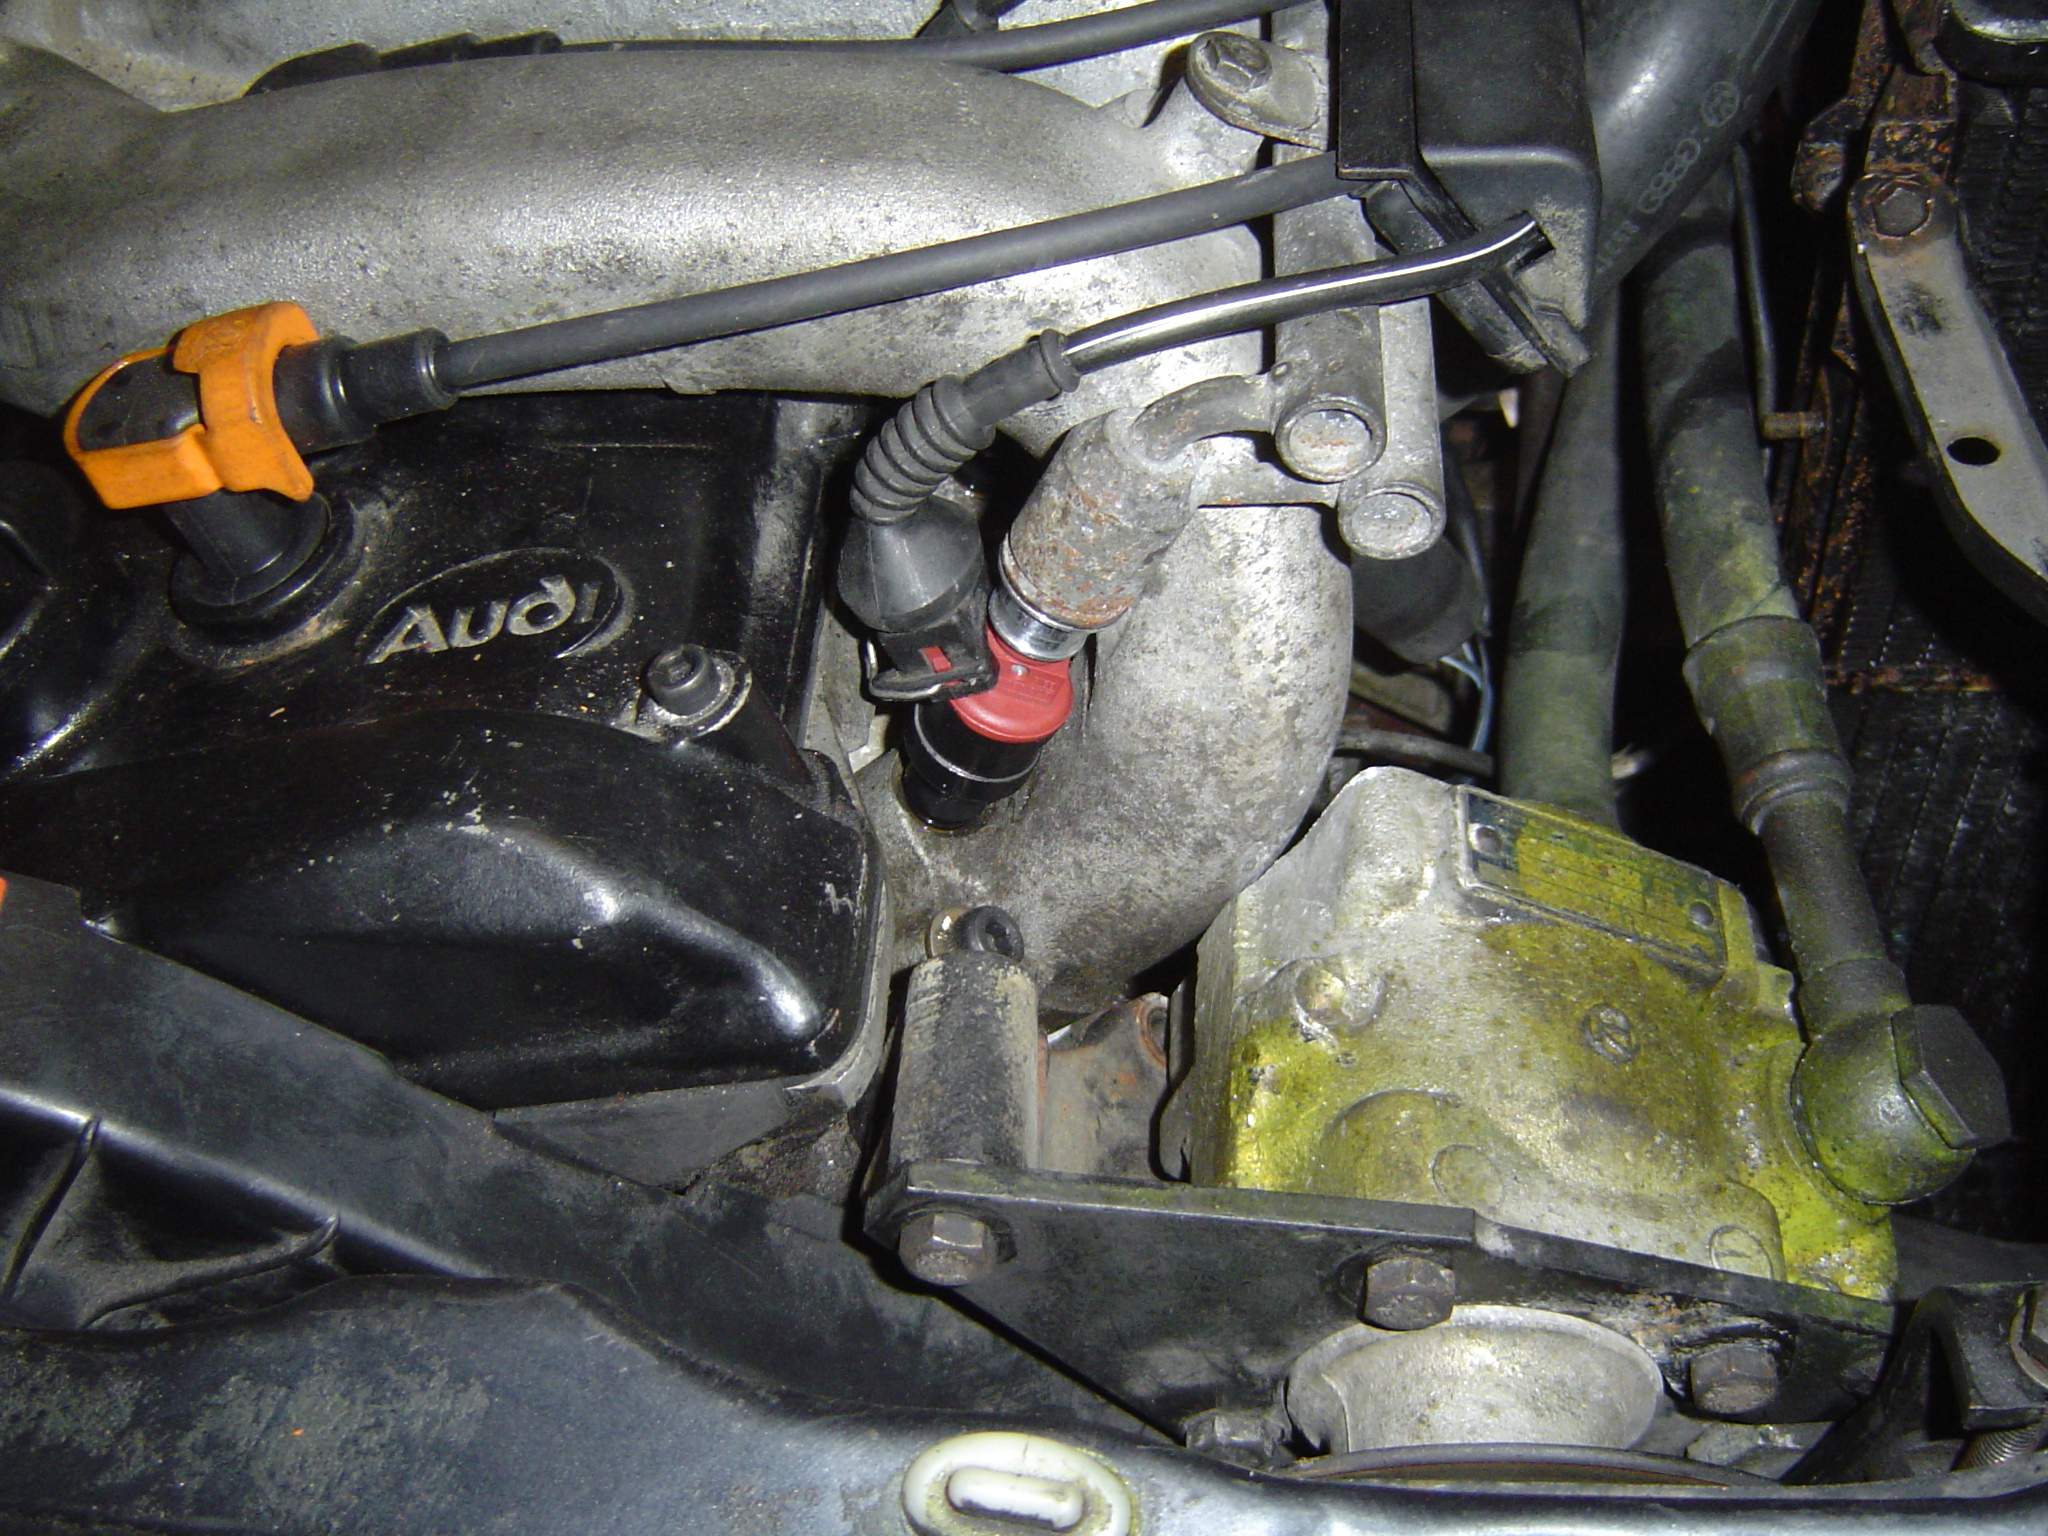
Both 7A Coupes and 4000 quattro use exact same fusebox.  Other than the windshield wiper/washer wiring the complete 7A harness will replace both the CIS and driver side engine harness. 

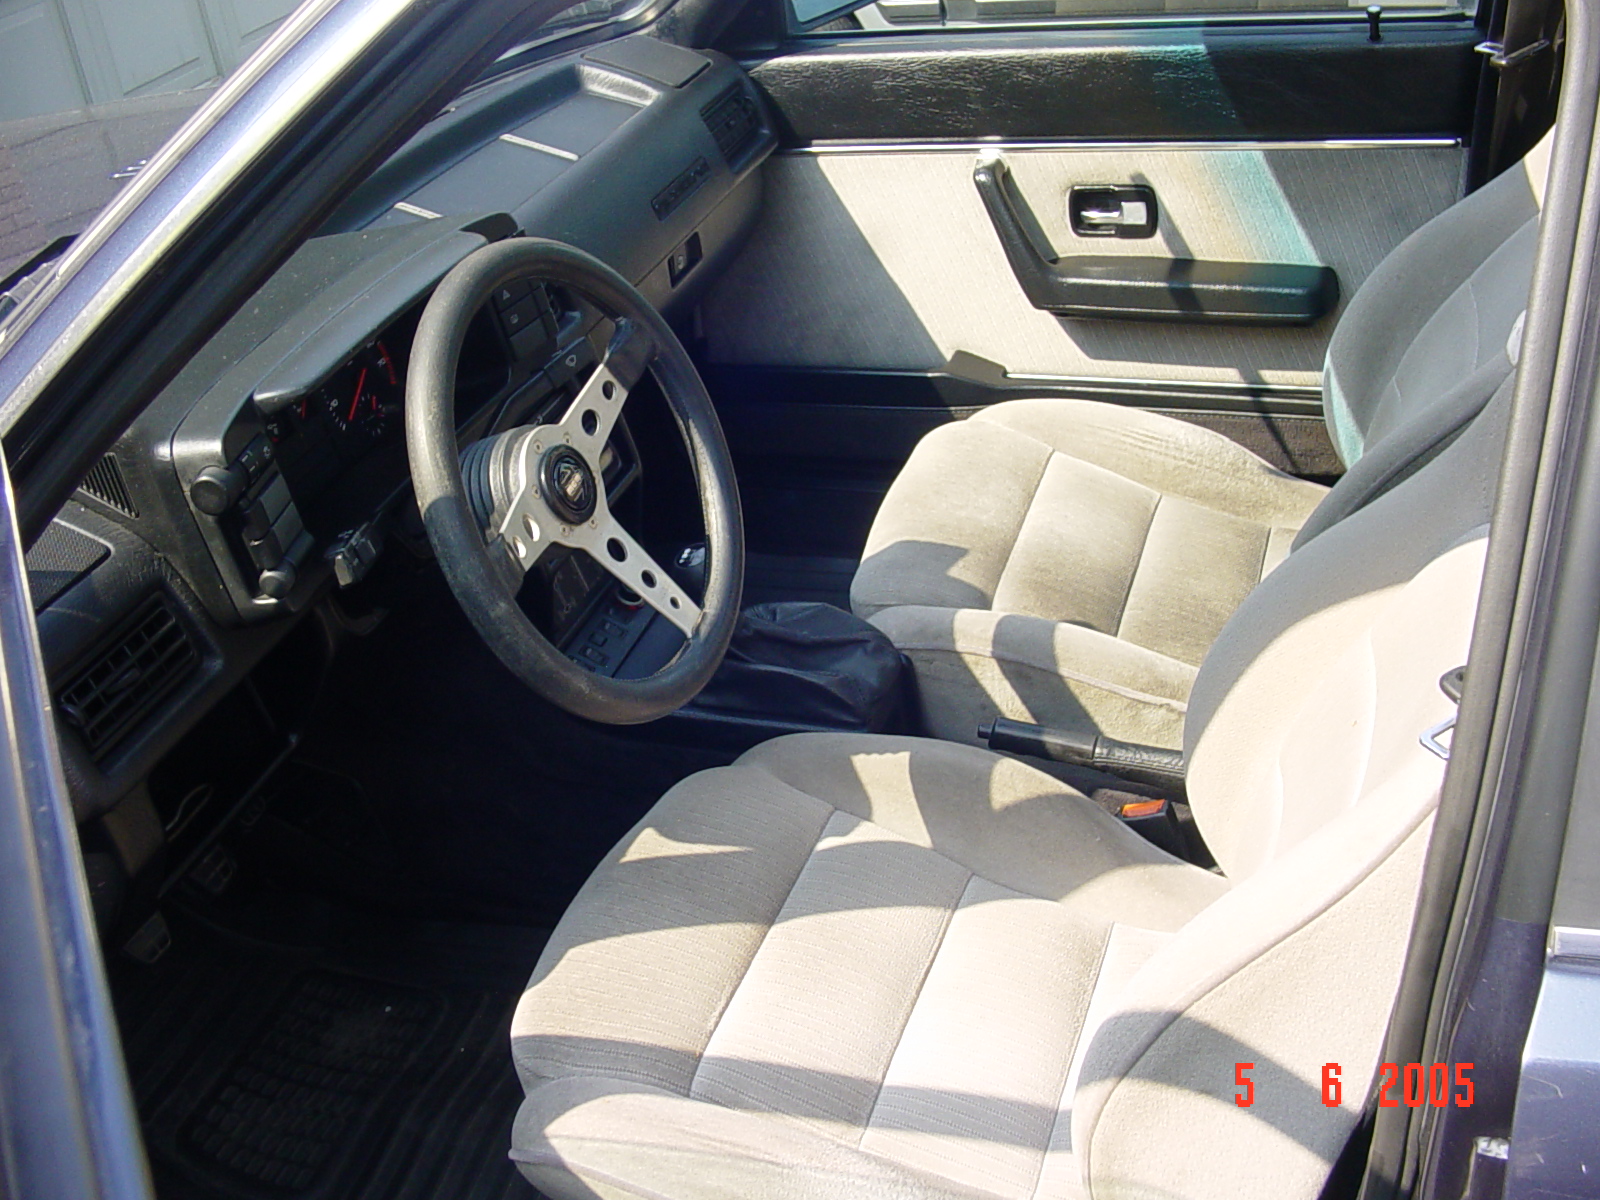
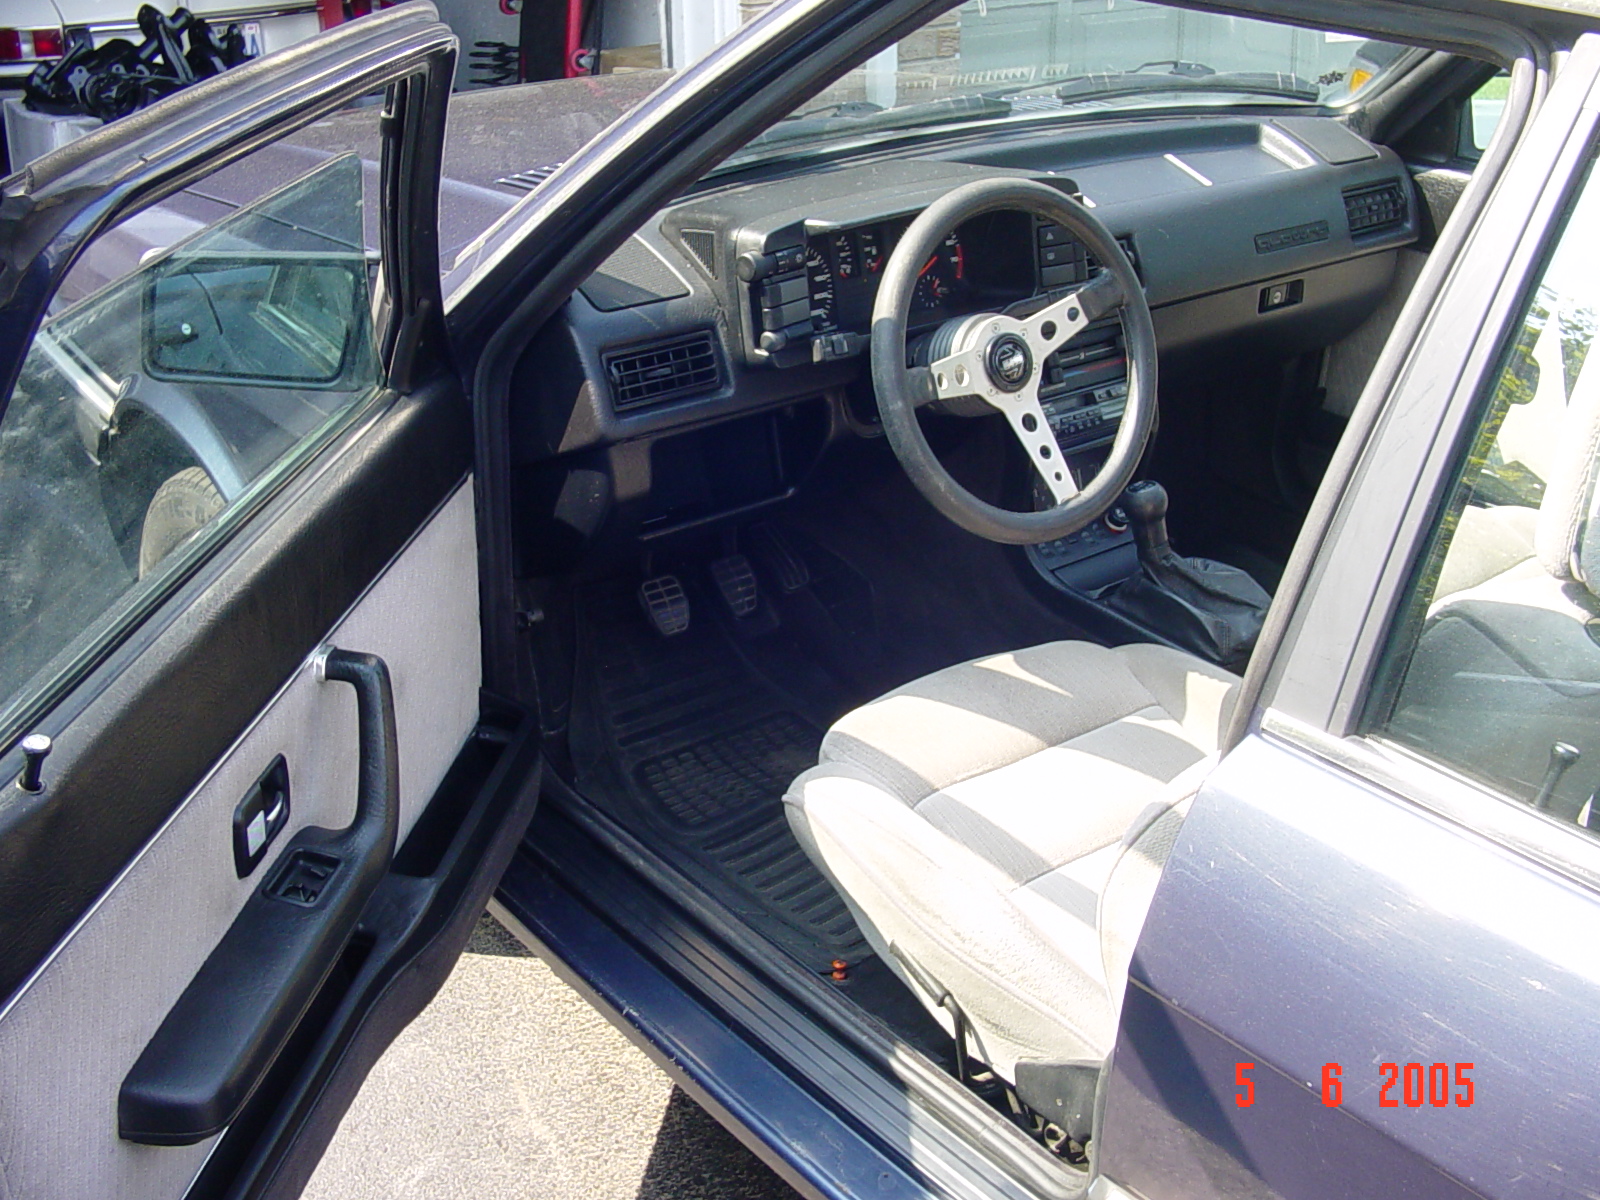
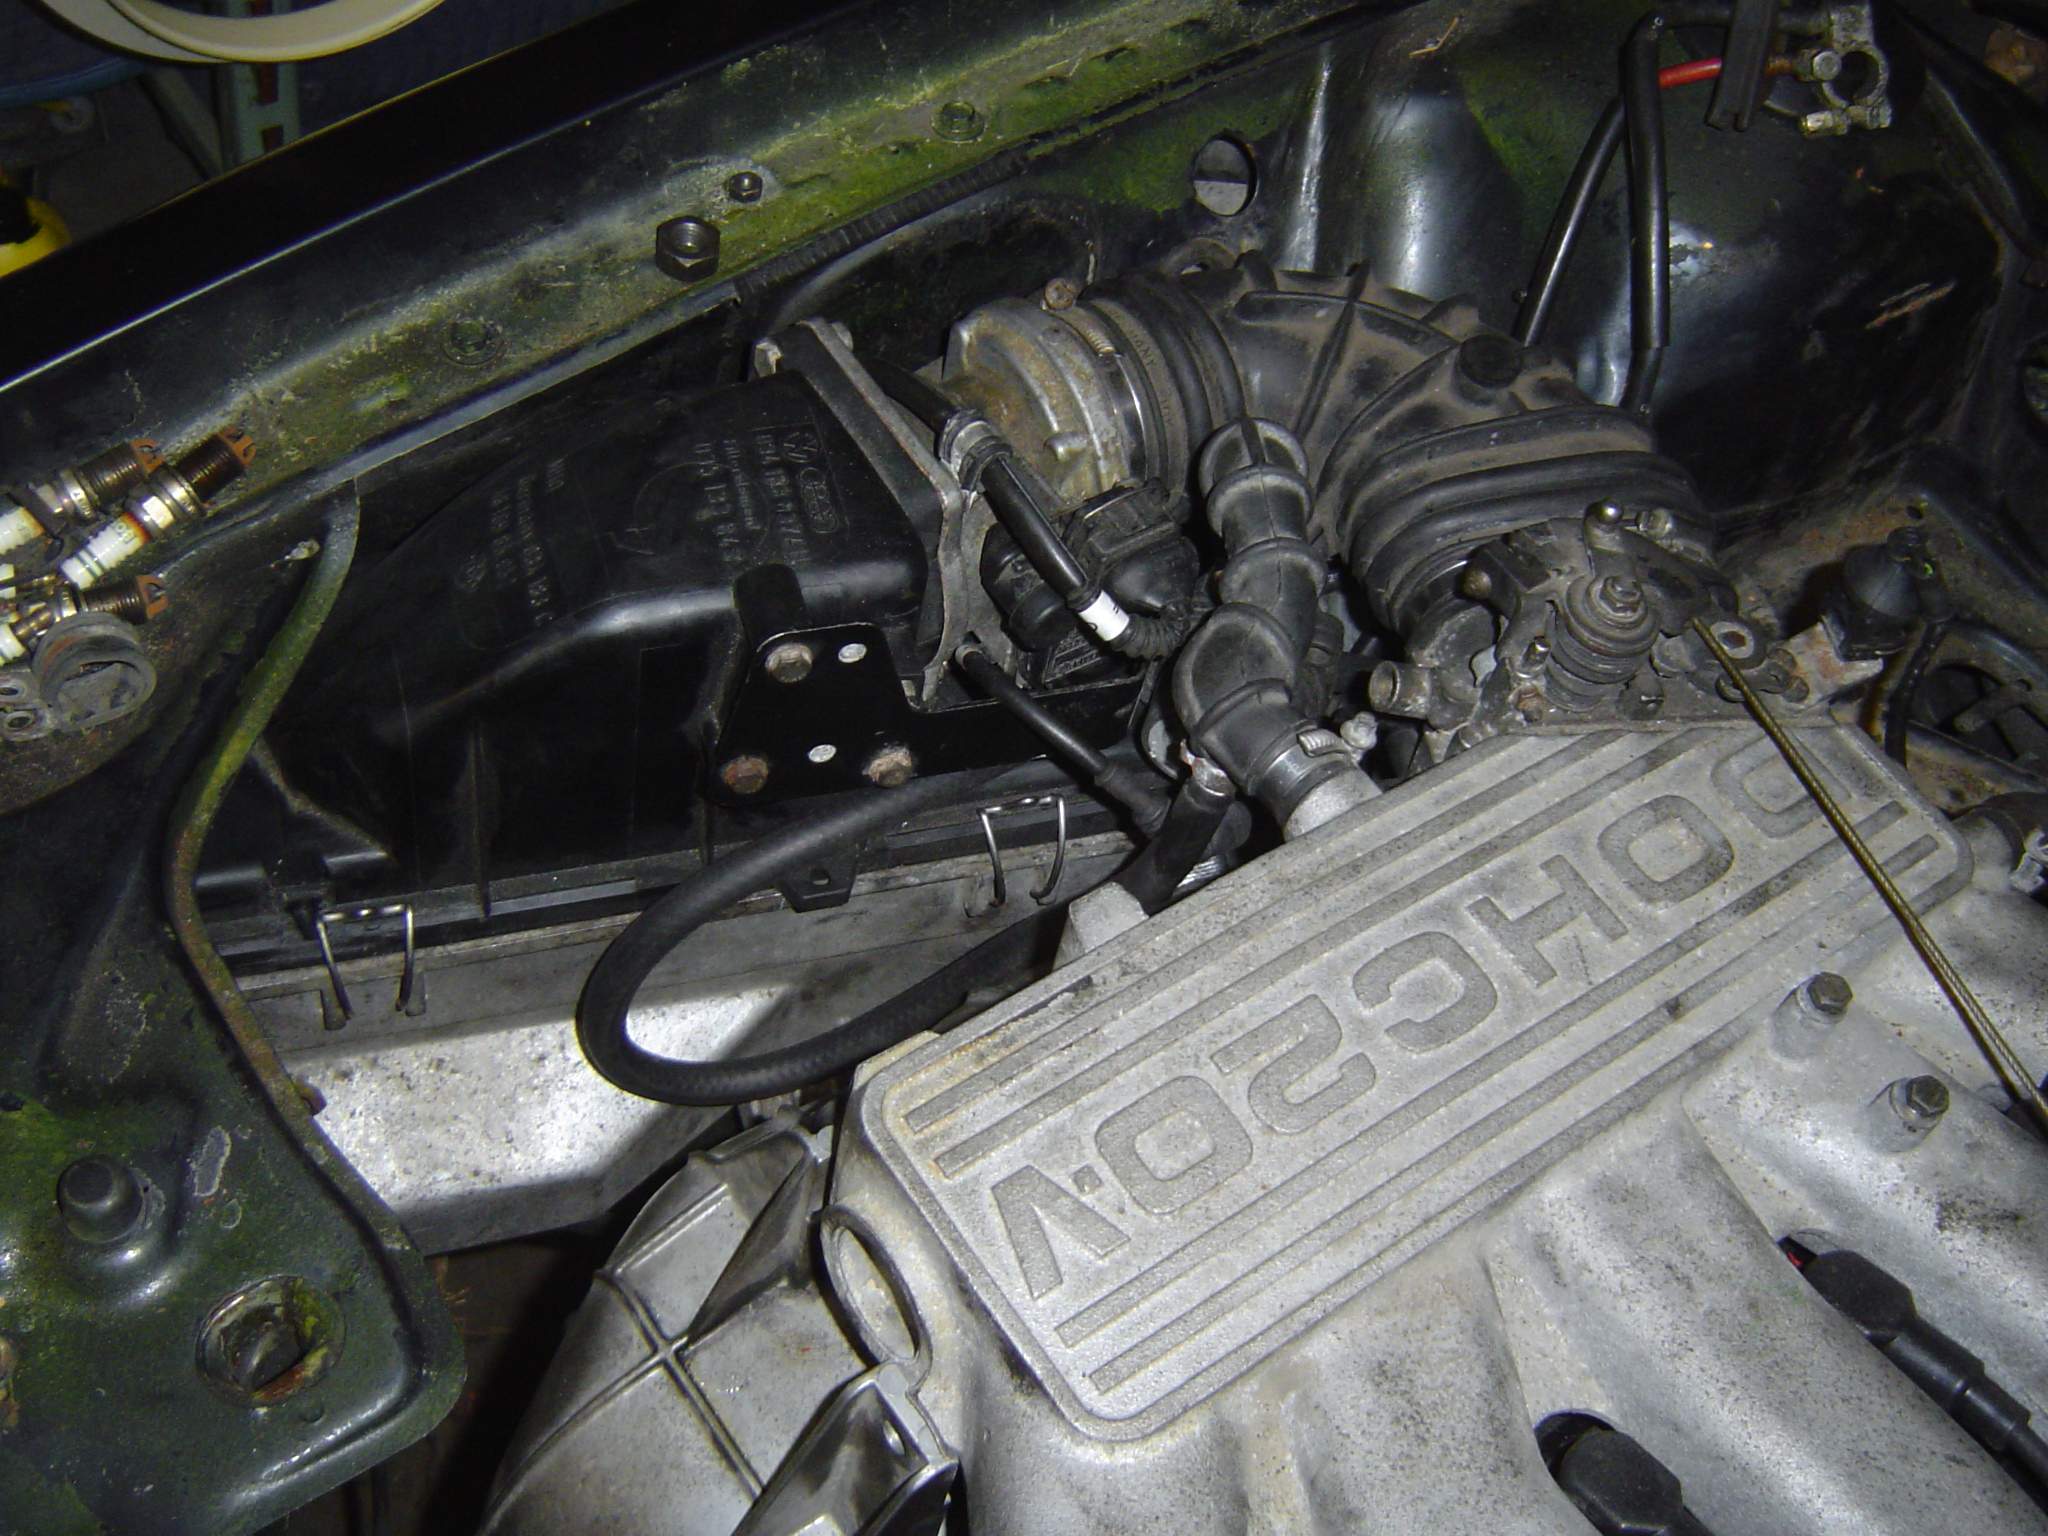
Armed with a label machine and Bentley I proceeded to label the harness.. funny thing is because I already did this with an S2 harness and because nice folks at Audi used the same wire colors I was able to do the job without much help from Bentley. 

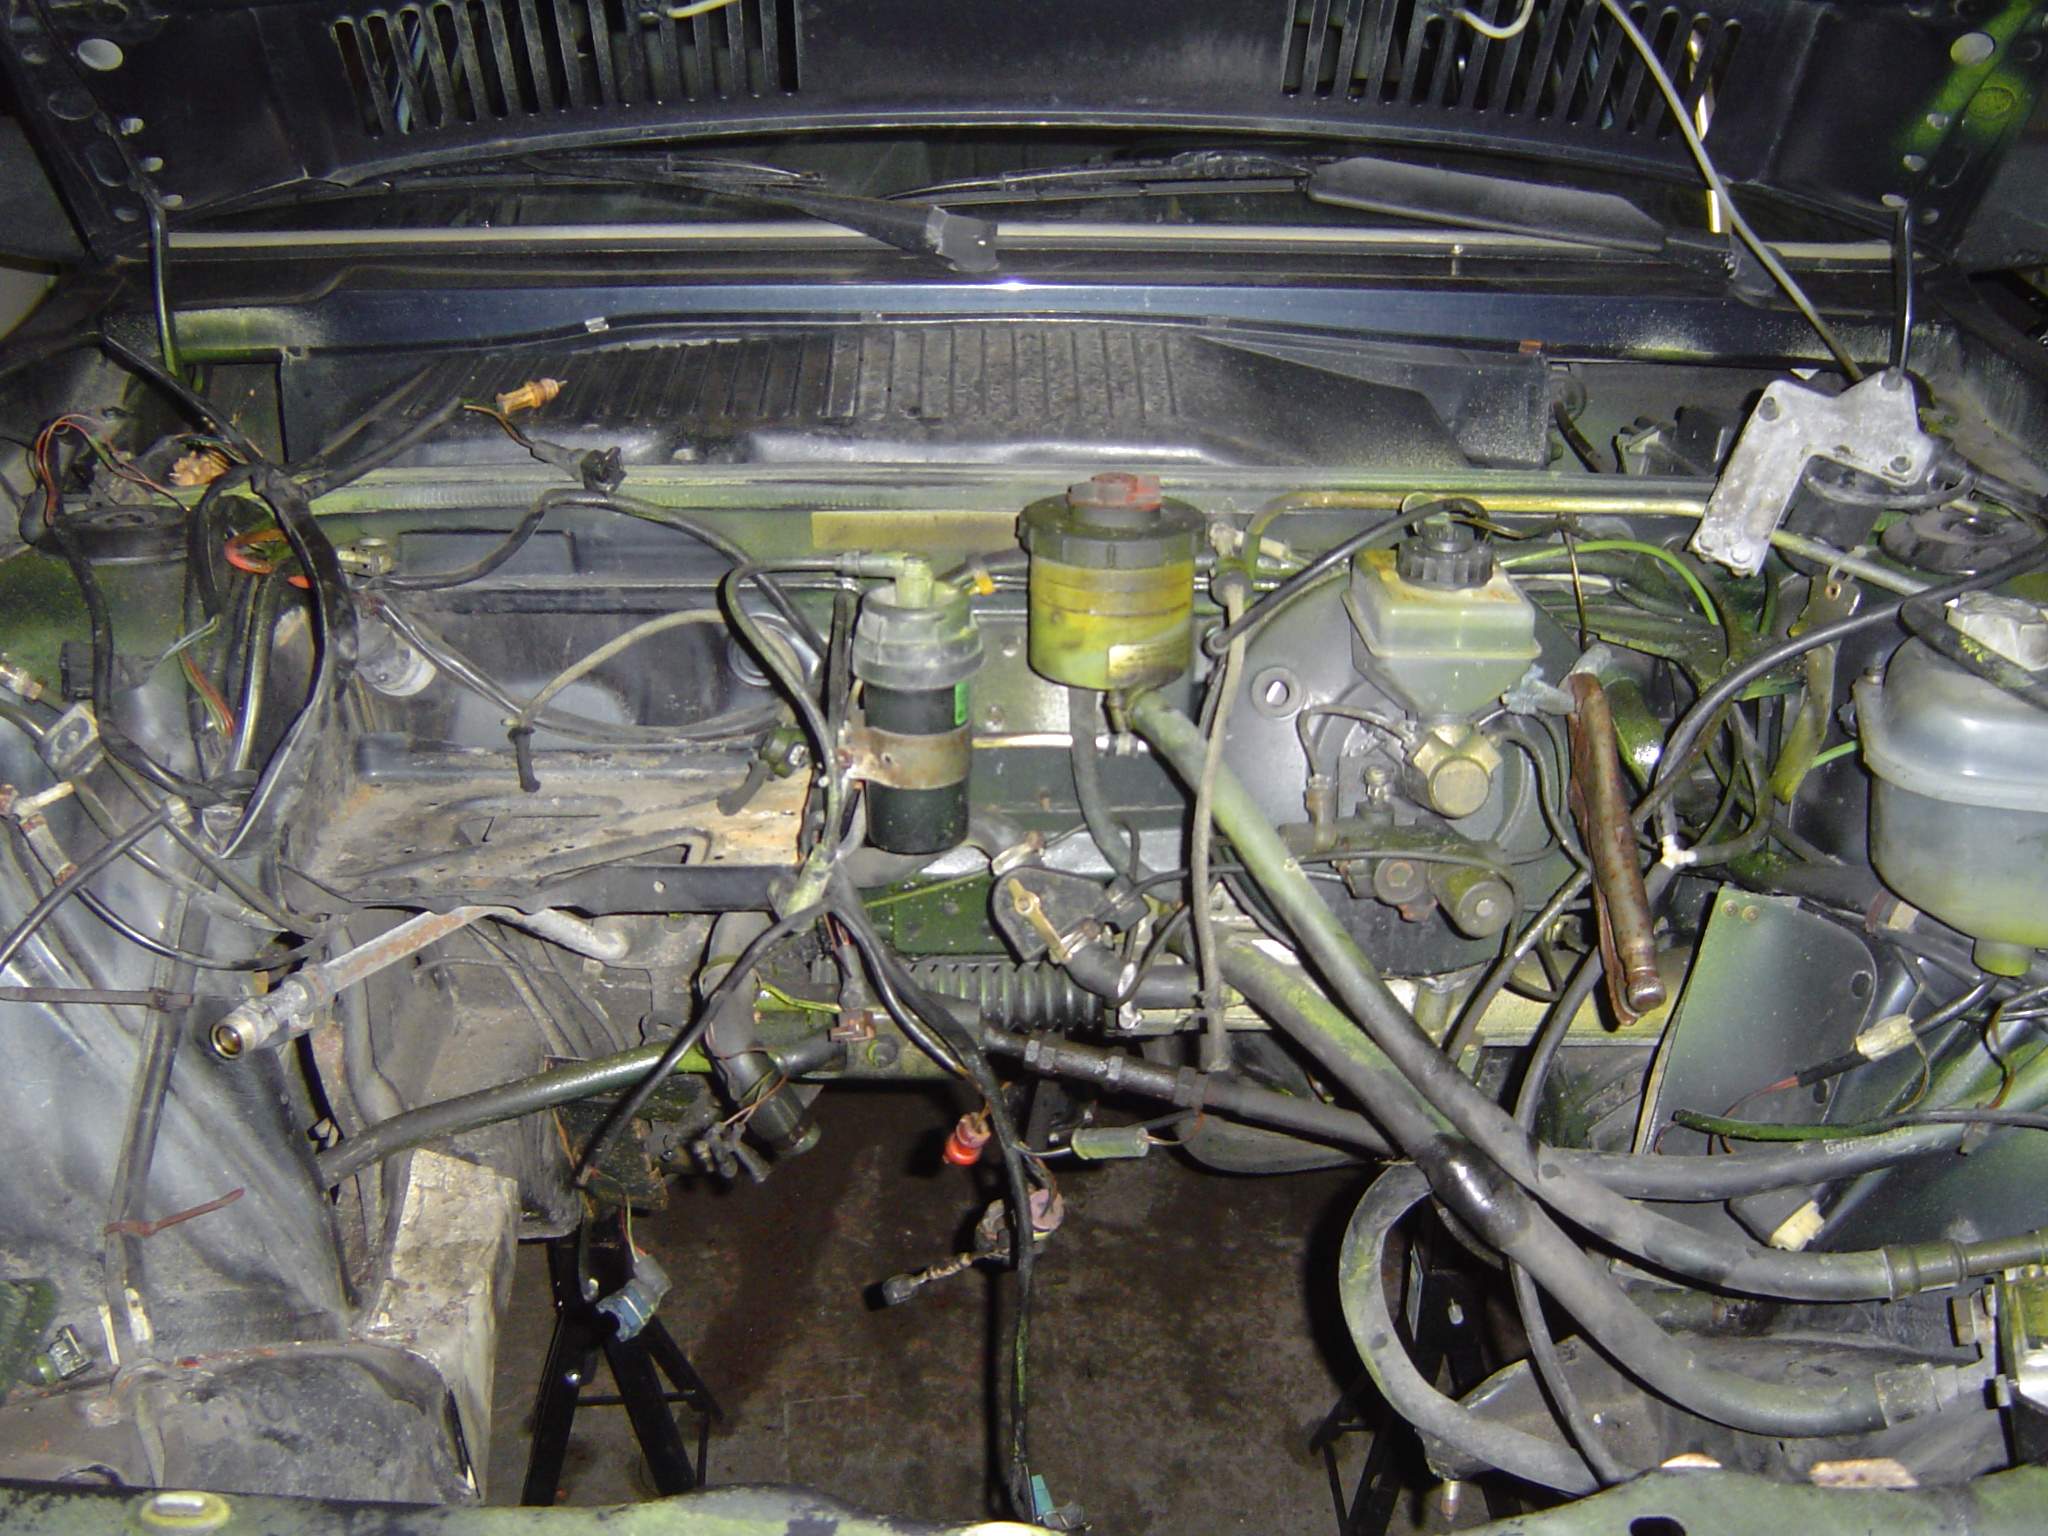
Once I knew I have all the parts and harness ladled, time came for the swap.

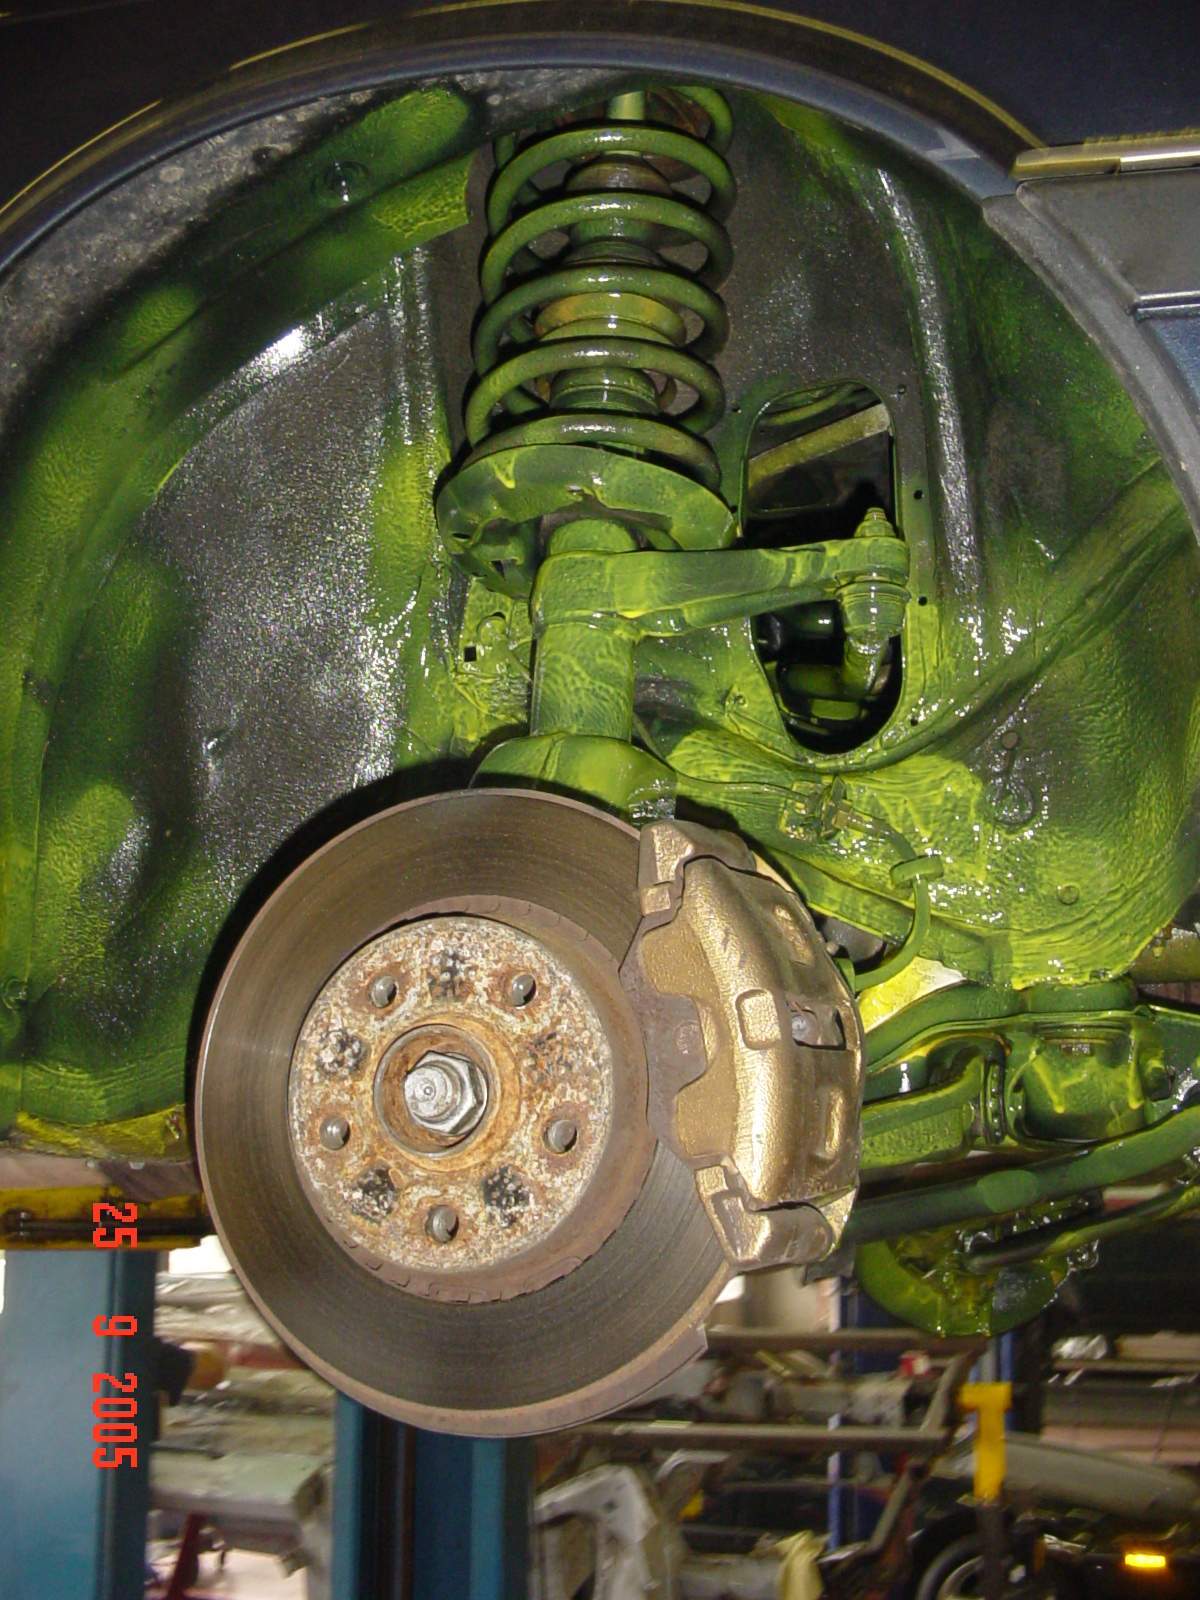
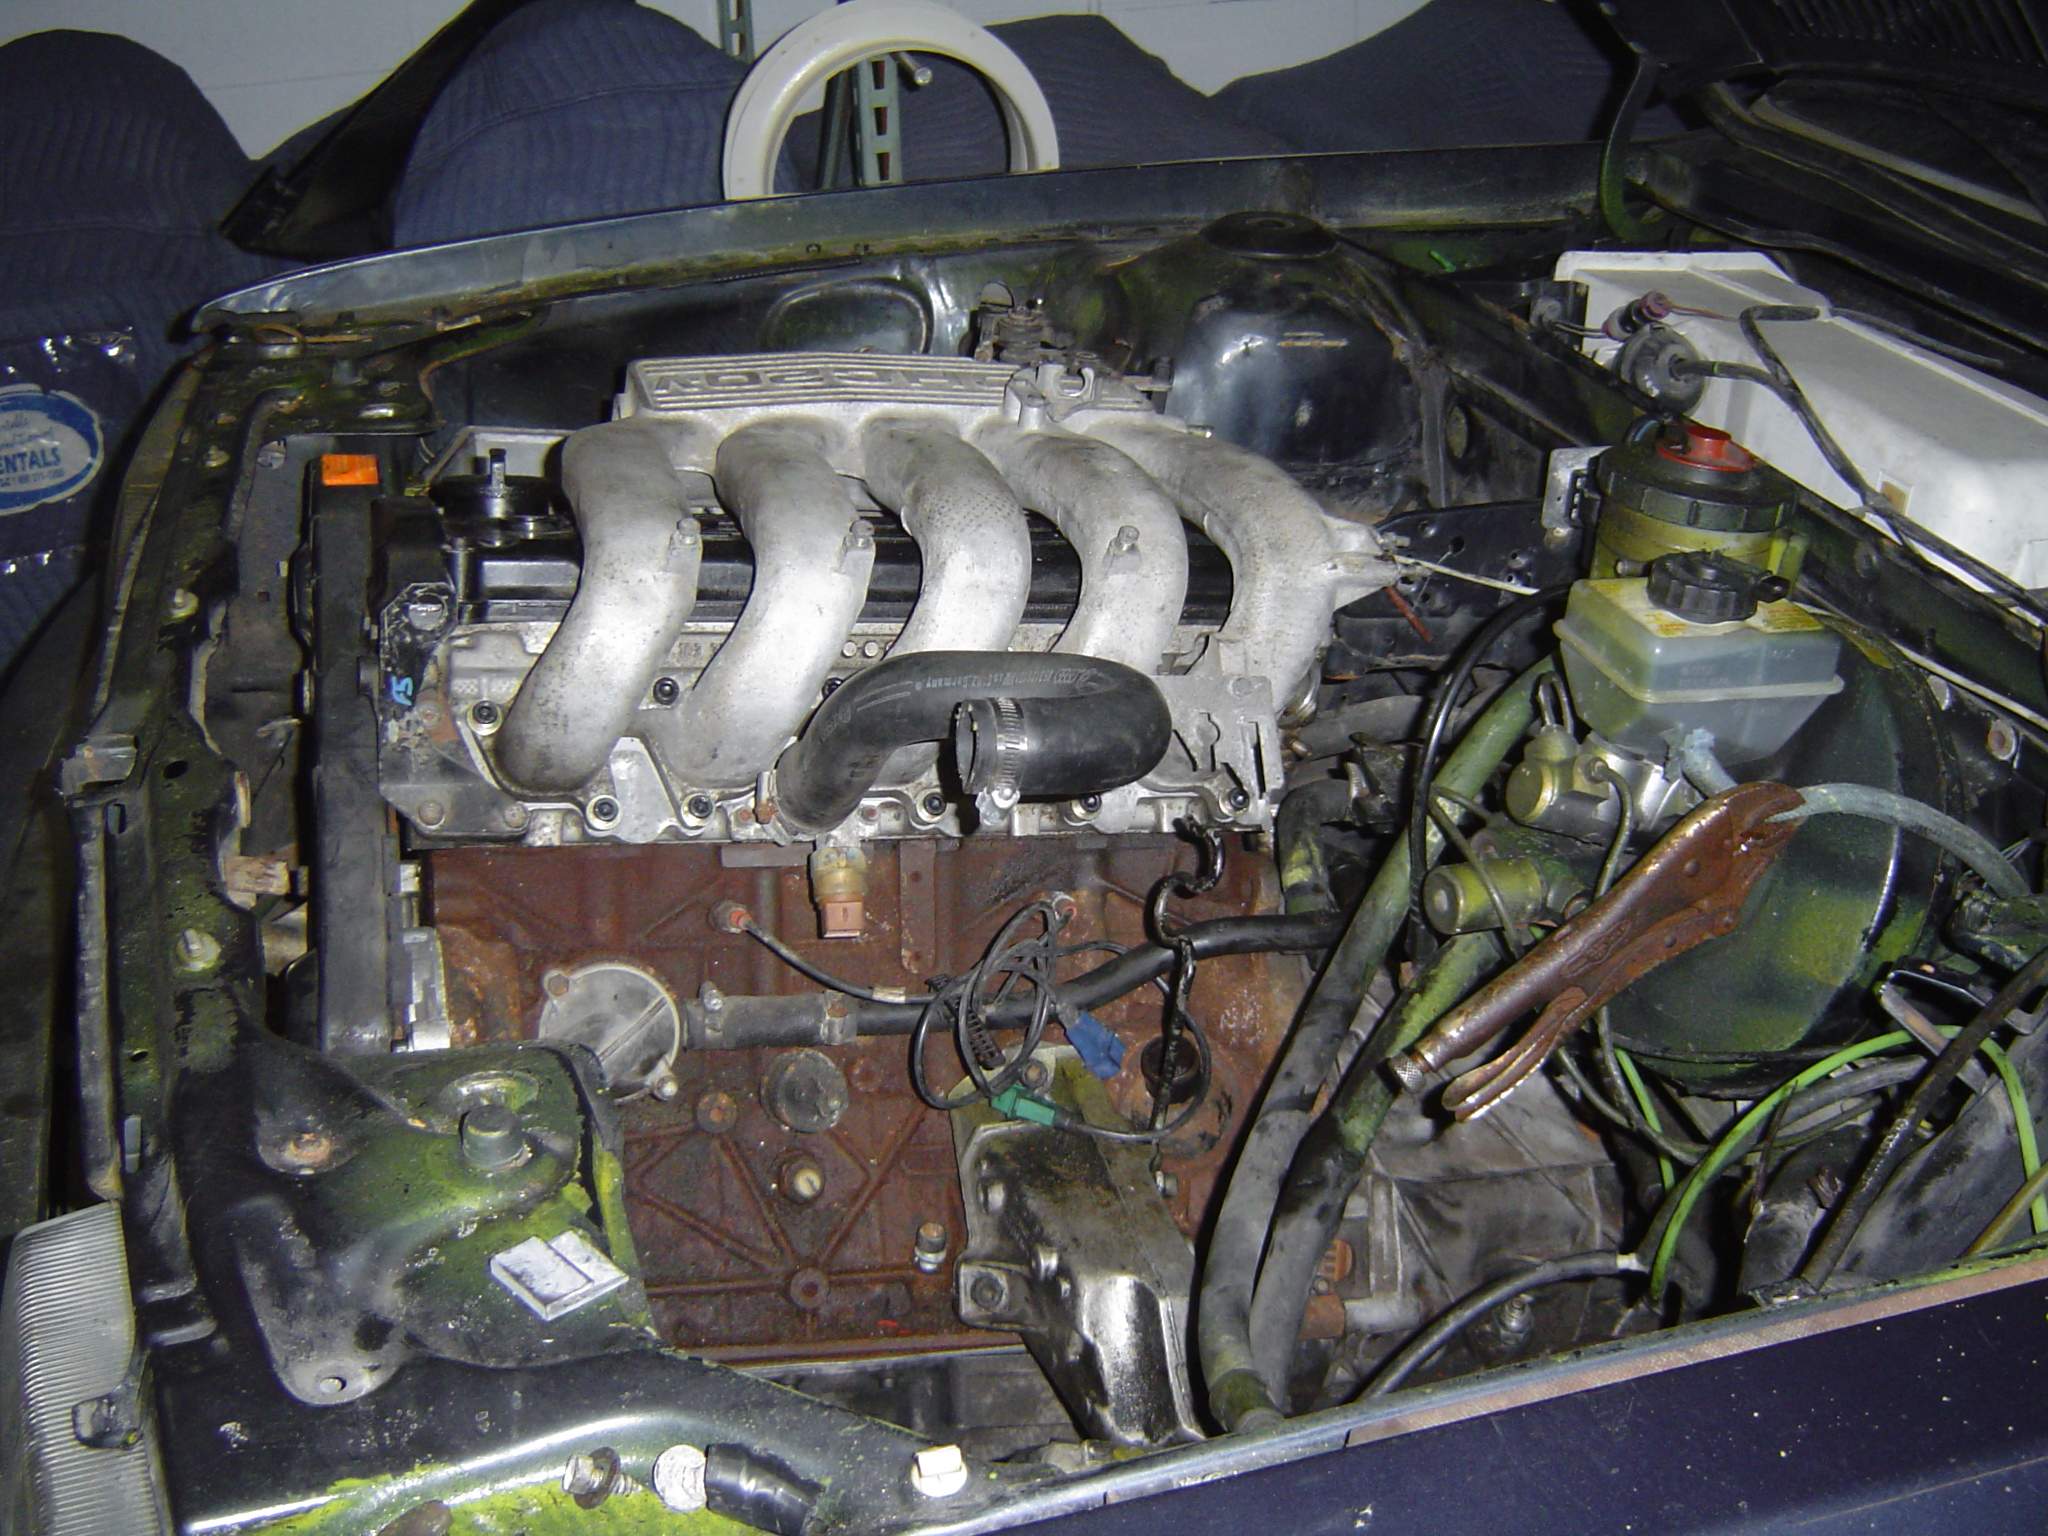
I had the engine down in few hours.  The usual time if you have done it few (hundred) times before.. J

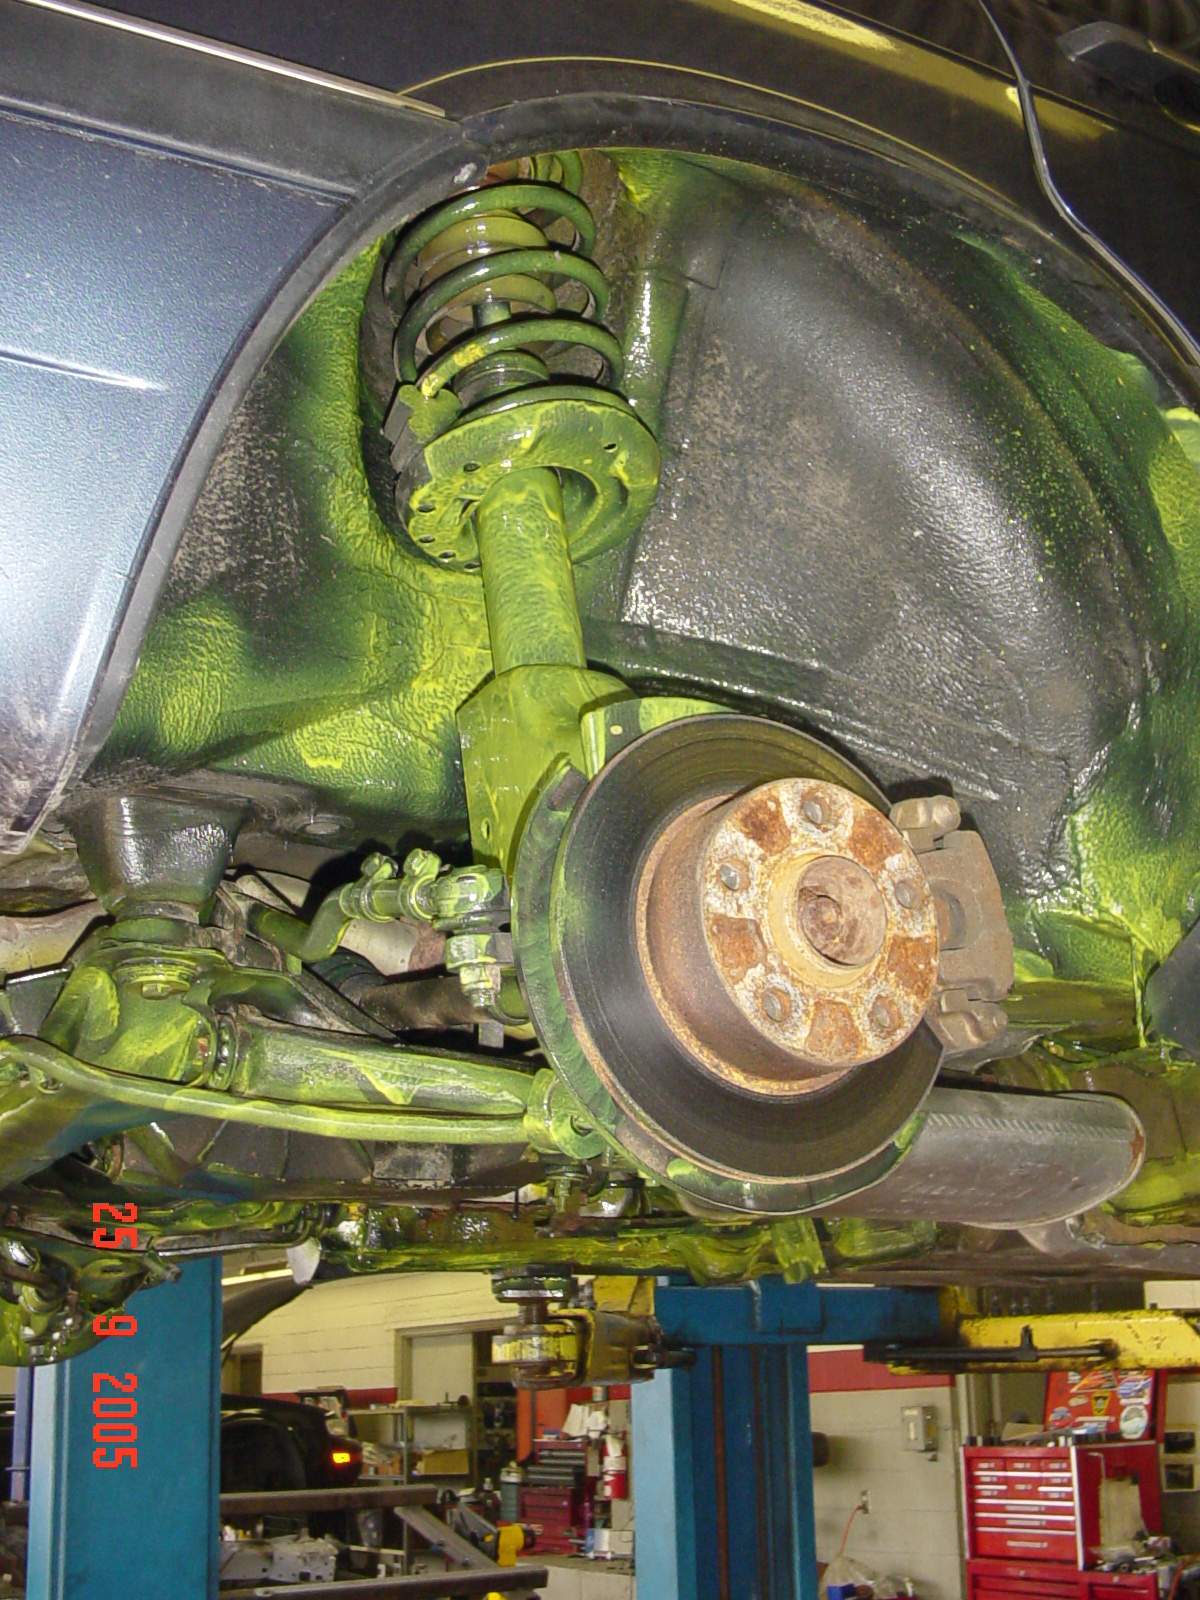
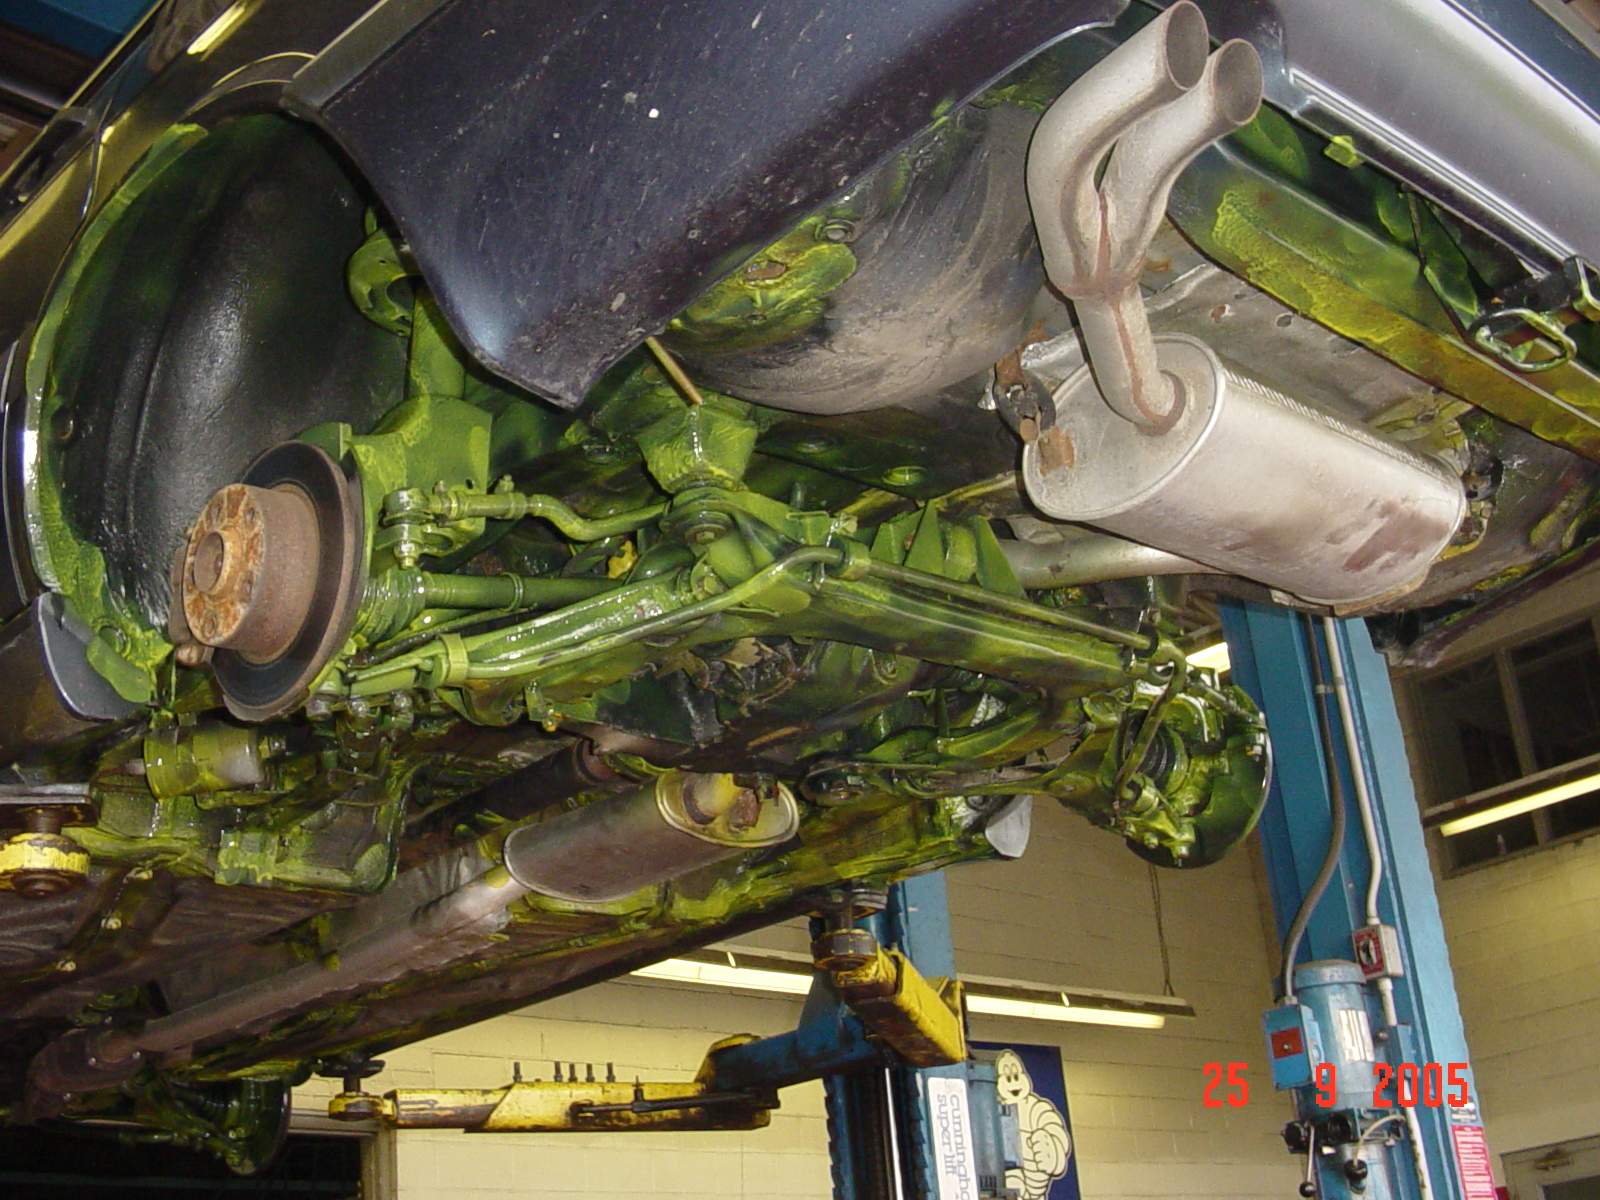
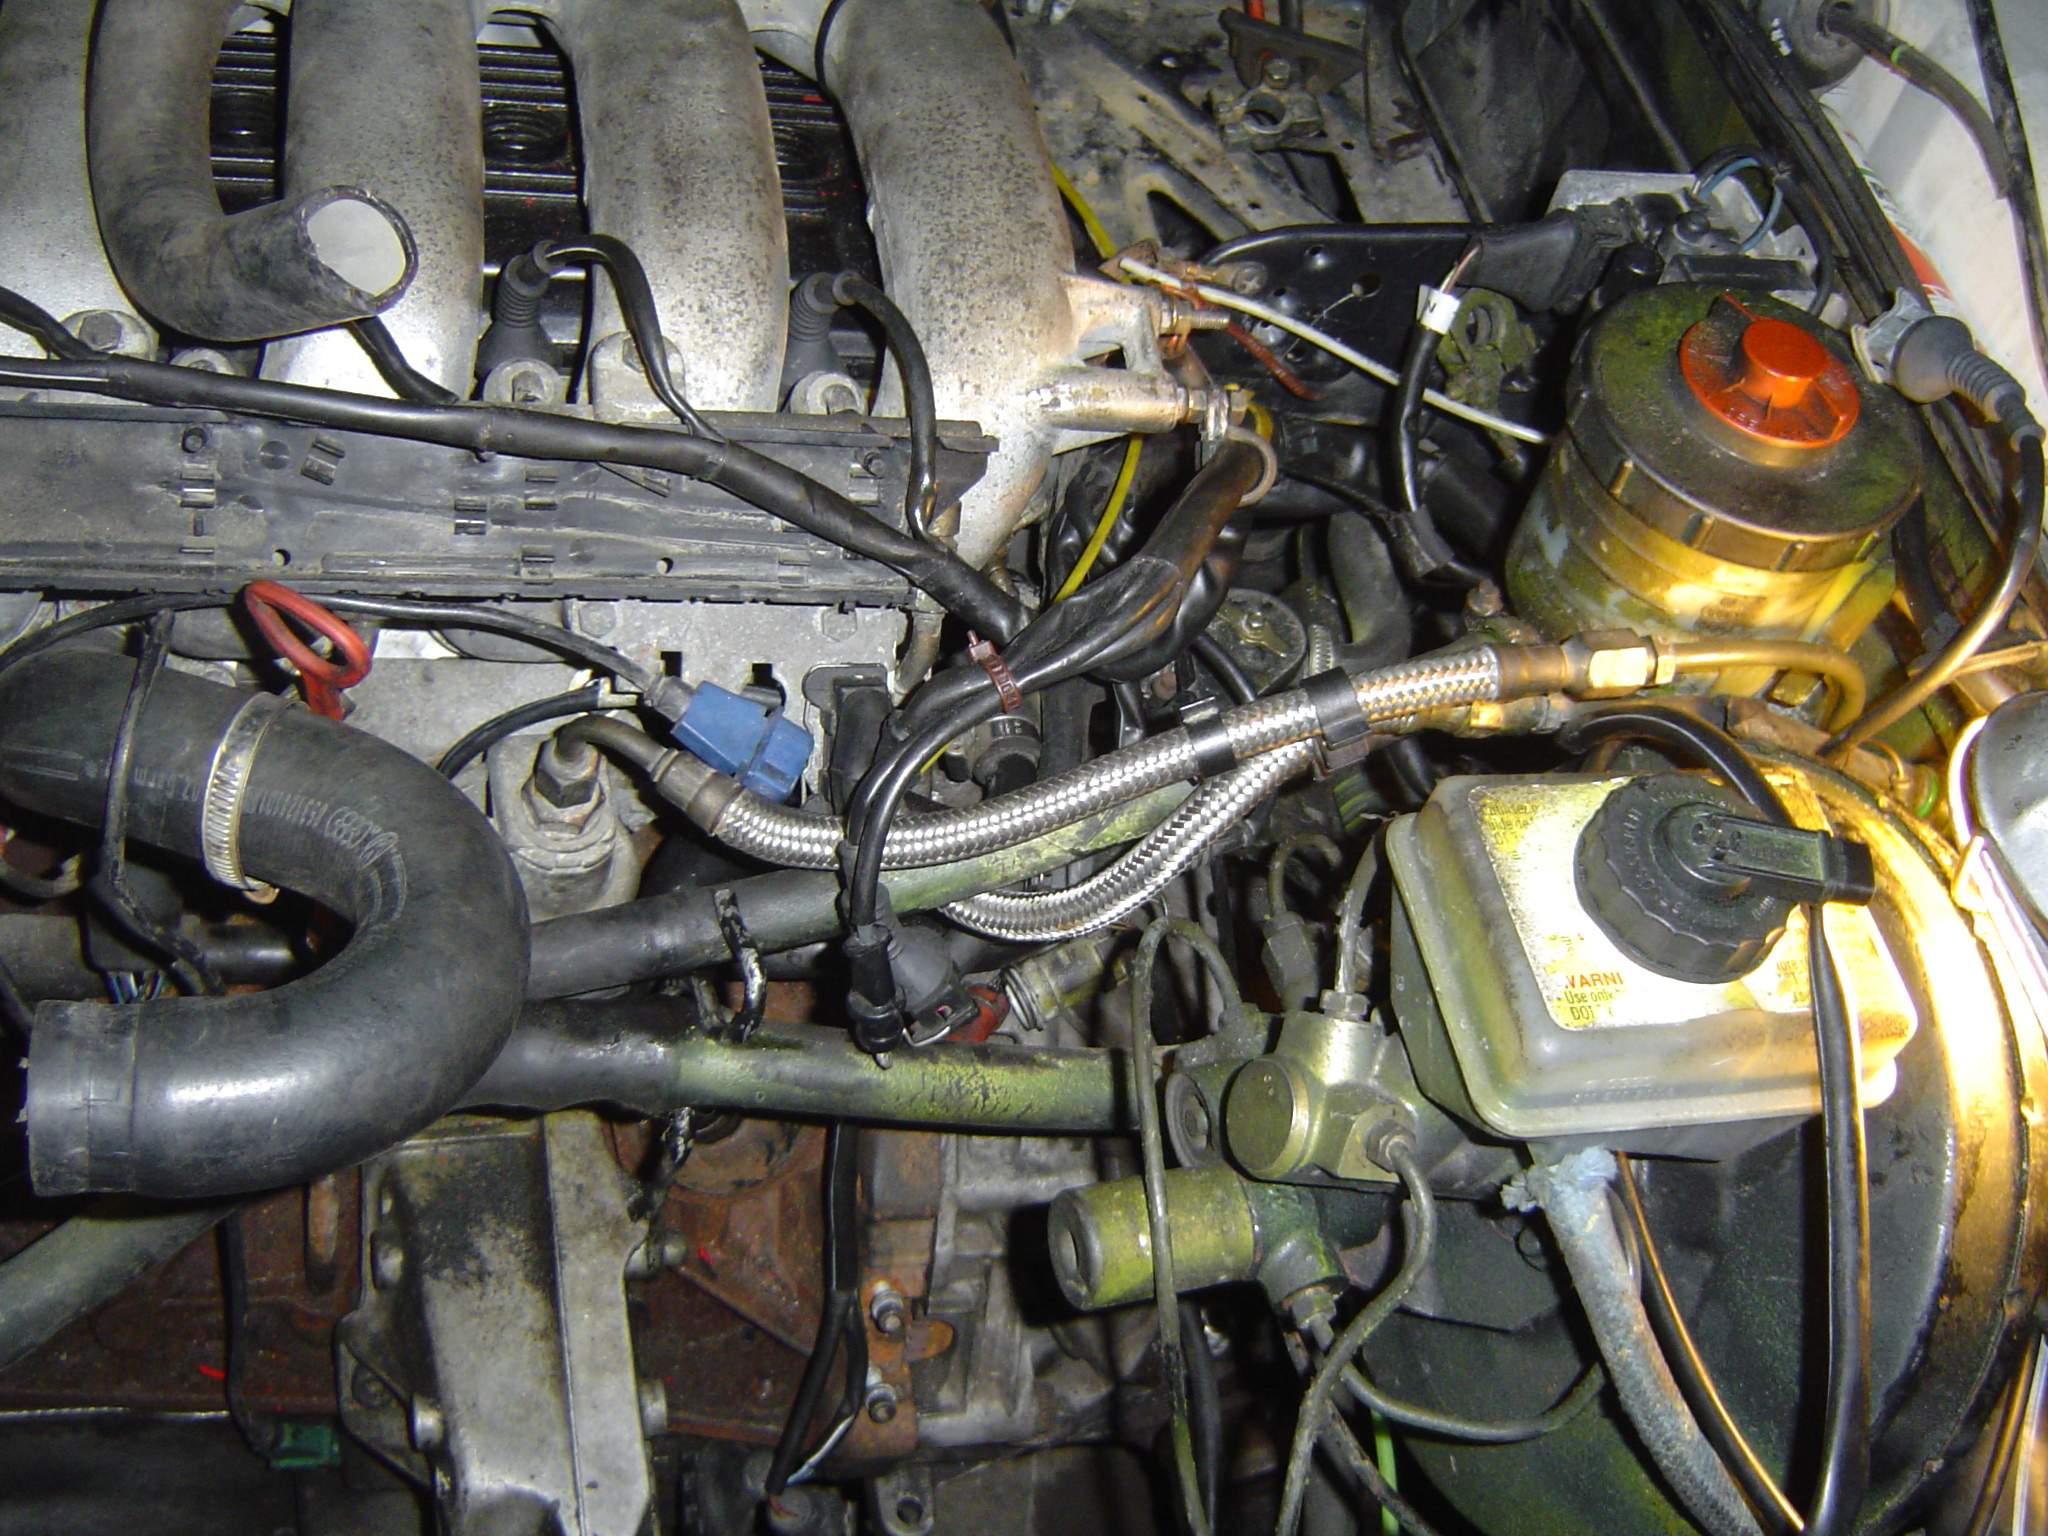
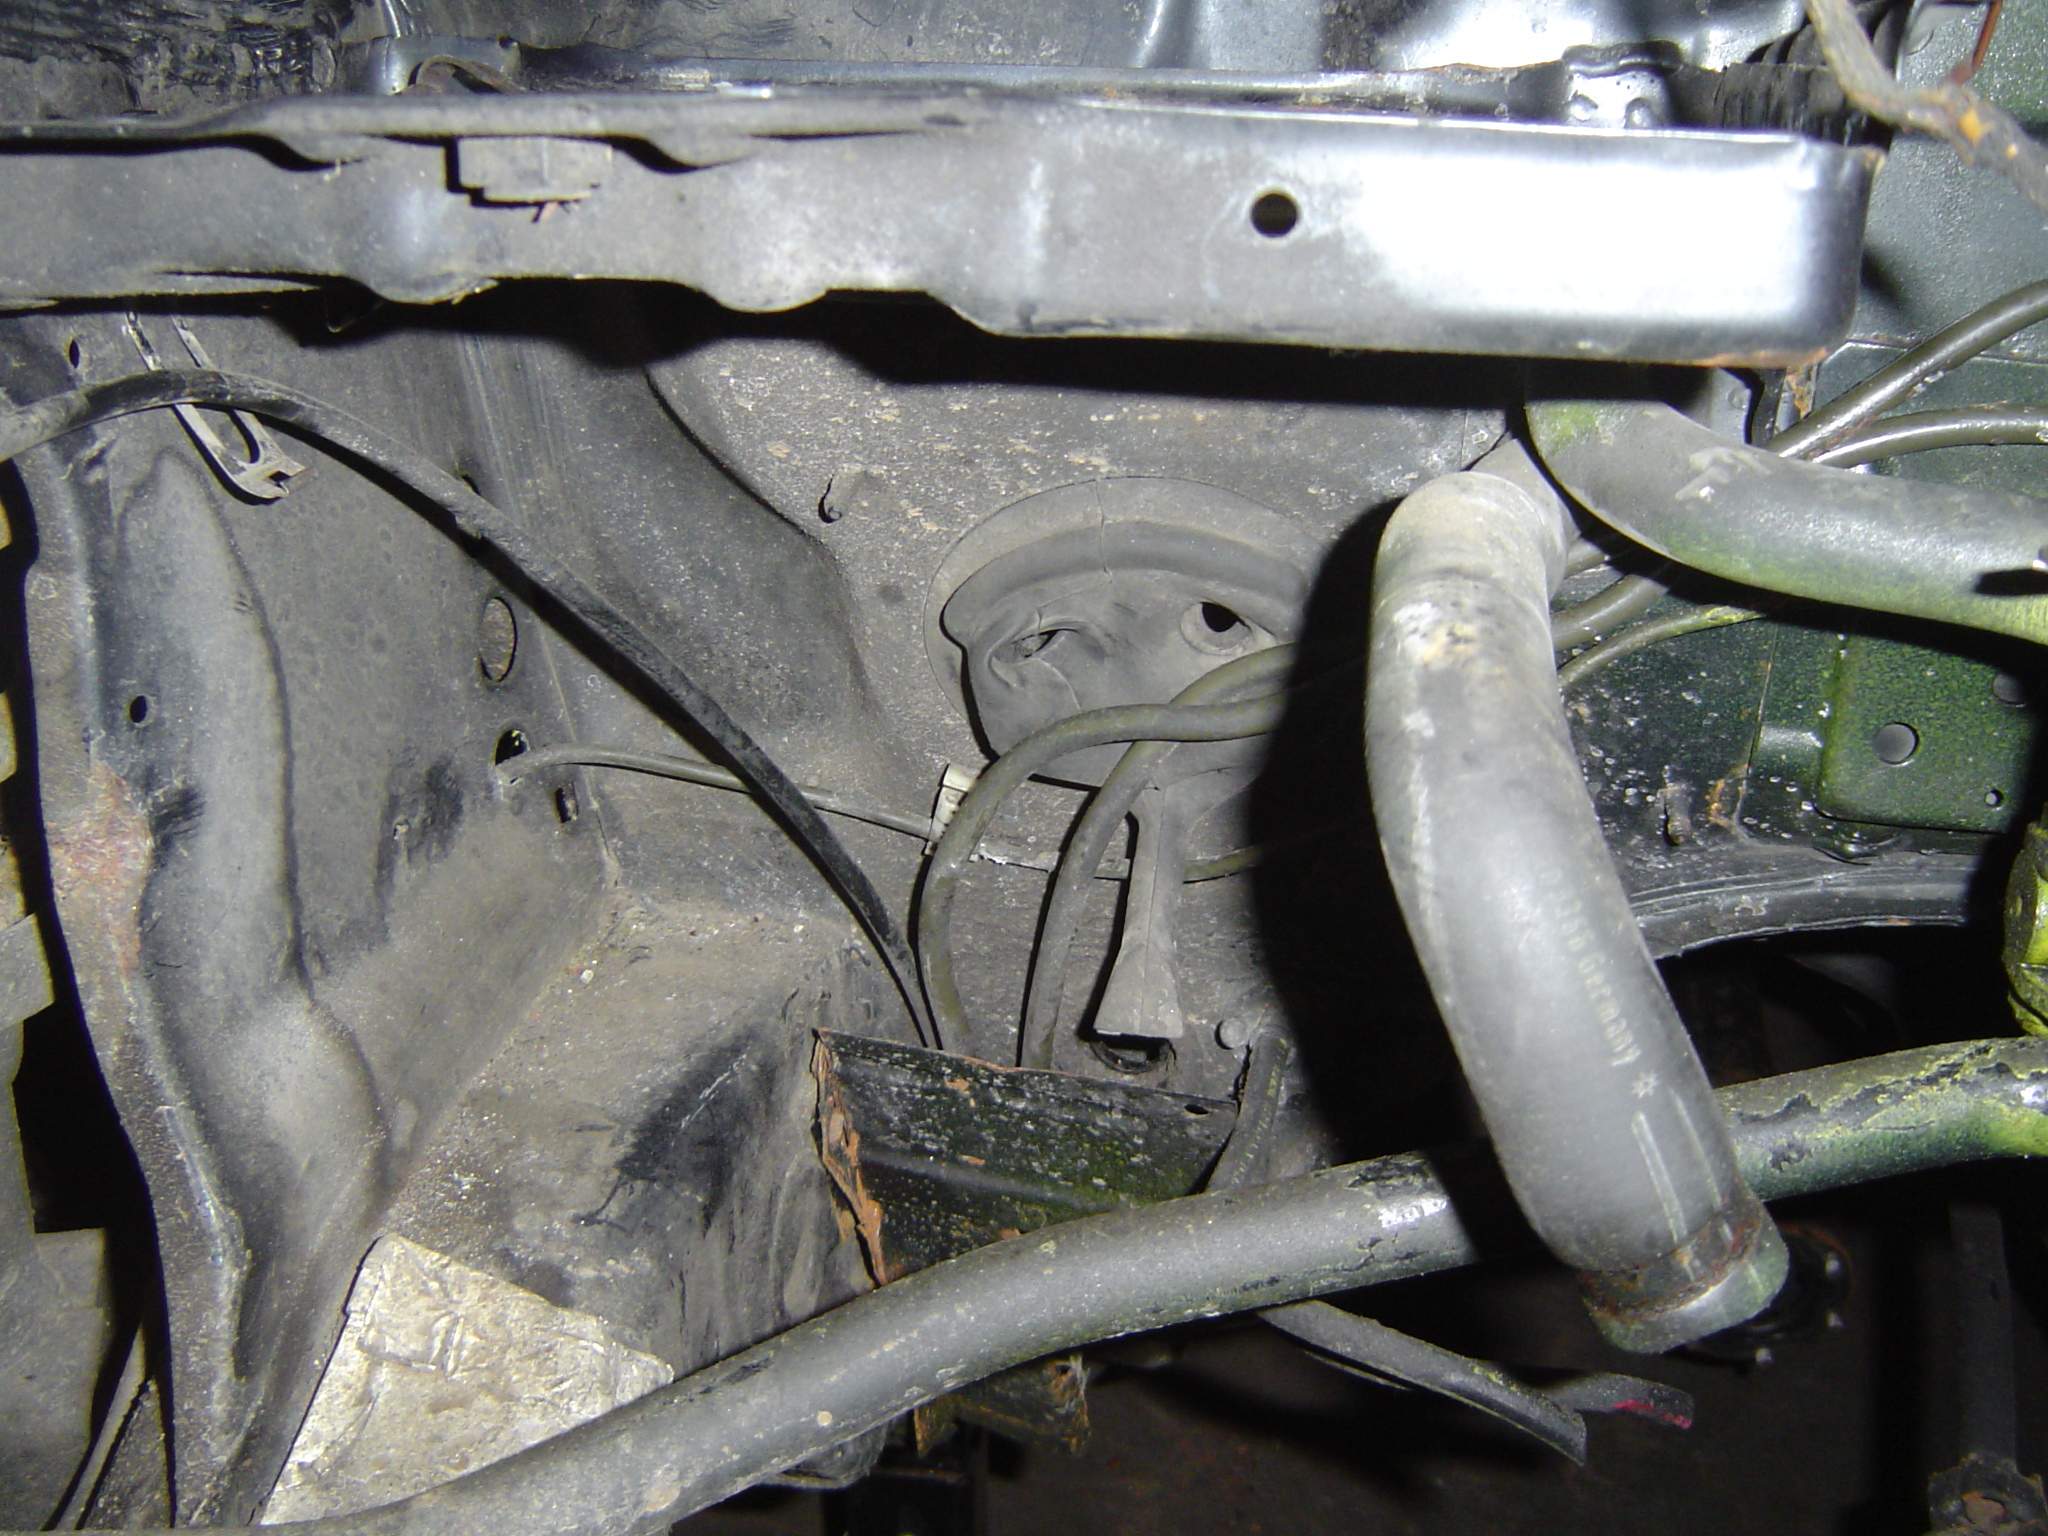
Once the engine is out, you need to reroute the fuel lines.  Yes, they are long enough to reach the stock location for 7A.  Nice thing because from there it’s all peanuts.  Oh 
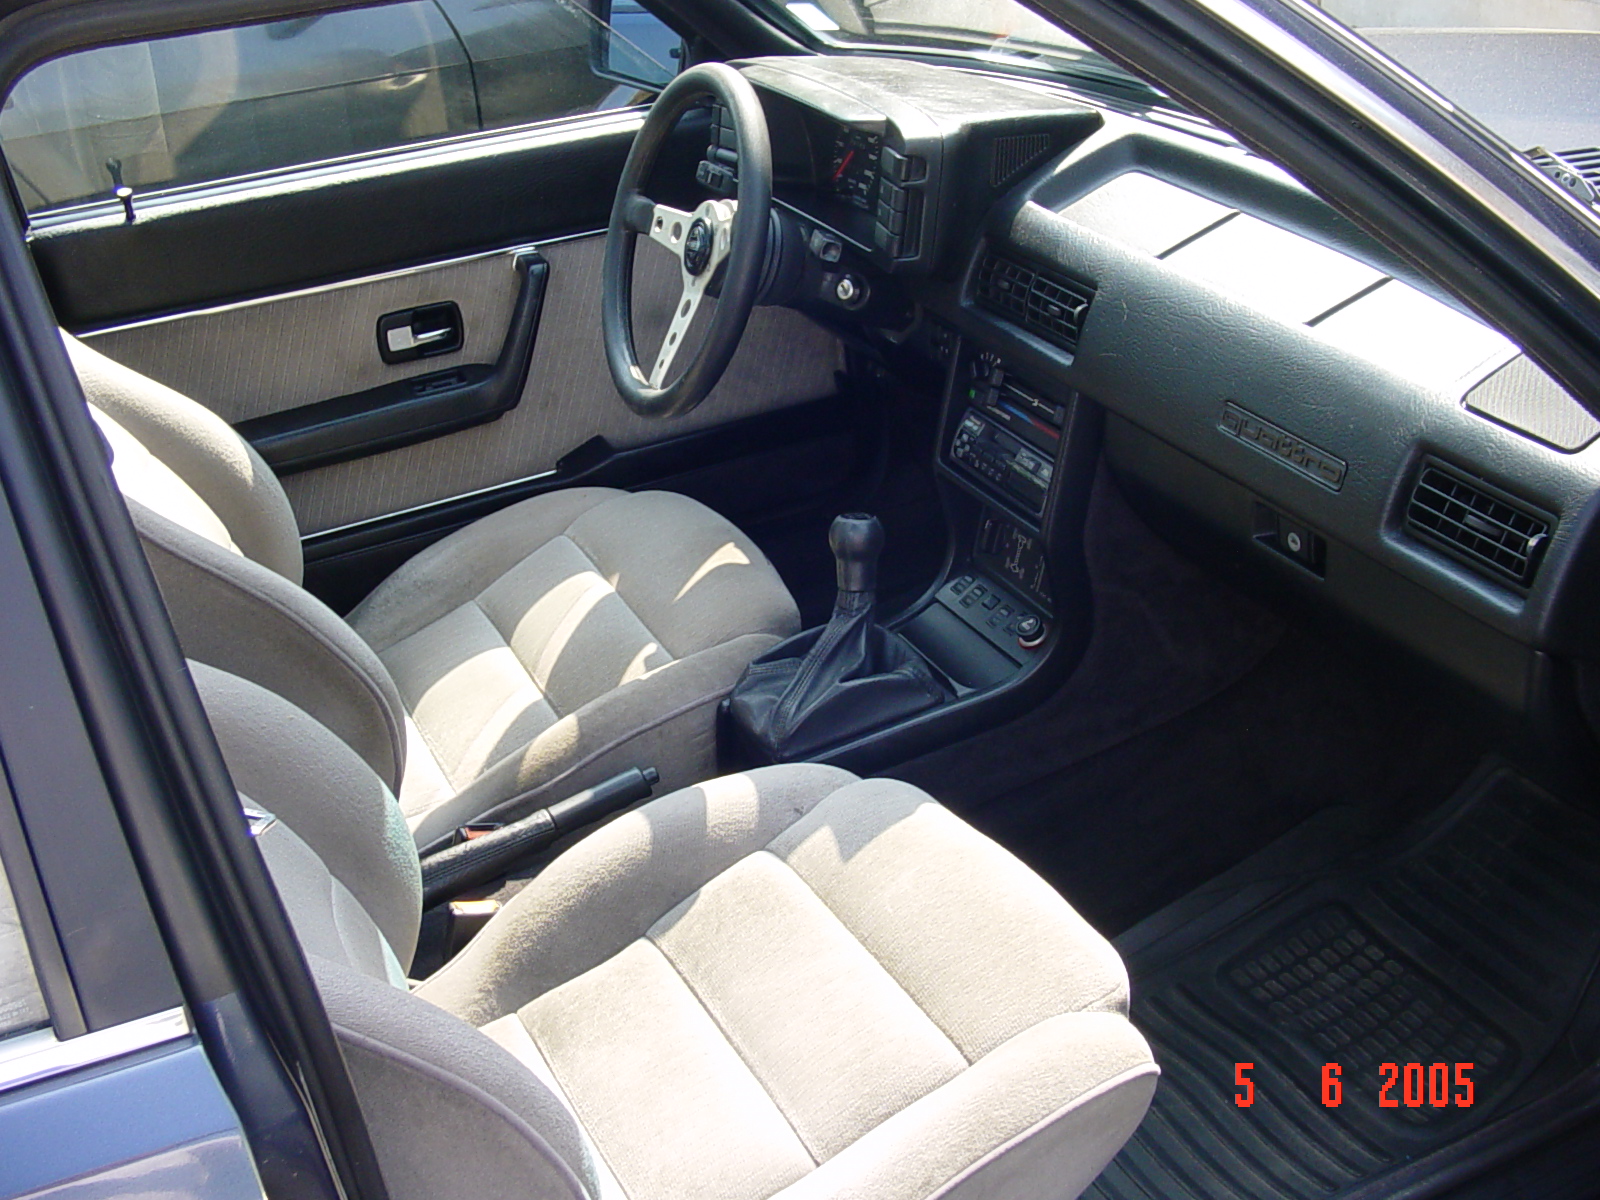
yeah, and just to throw in a wrench, I decided to do a Digi Dash swap as well.  Having done that on my Euro ’85 I was also ready with factory documentation and pin outs.  Lucky for me I had all the parts needed to finish that as well… photo sensor, electric speed sensor (which is part of 7A wiring harness J), the nifty dimmer switch and computer function switch.


DCP_0492.jpg
Dog’s brakefast

DSC03683.JPG
Stock engine out


Fuel line routing

DSC03699.JPG
Coil and fuel line outlets

DSC03692.JPG
The black plug is for the engine

DSC03687.JPG
Engine ready to go

DSC03688.JPG
‘85 Ur-q gearbox

DSC03702.JPG
Engine finally in

DSC03710.JPG
Fuel line hookup

DSC03711.JPG
Almost there!!

DSC03712.JPG
Nifty 034 EFI injector kit, very nice!

DSC03713.JPG
Ur-q bottom airbox

DSC03714.JPG
Ready to fire??


Obviously there is more to come.. J